The Short Version A patch cable from a send back to a return is the only way to create a feedback path on a modeler whose signal paths run forward only. Wire Send 1 to Return 1, set a parallel path's input to that return and its output to that send, and put the effect you want to regenerate in between. Start the return level at 20 percent. Four things become possible that no internal routing can produce: repeats that never decay, a filter that self-oscillates, reverb that grows instead of fading, and modulation that compounds. The failure mode you have to design around is not runaway oscillation — it is noise.
Every block in a modeler preset feeds the block after it. That is the whole architecture, and it is the reason a long list of effects that exist on pedalboards and in DAWs simply cannot be built inside a Helix or a Quad Cortex preset: they all require a signal to arrive somewhere it has already been.
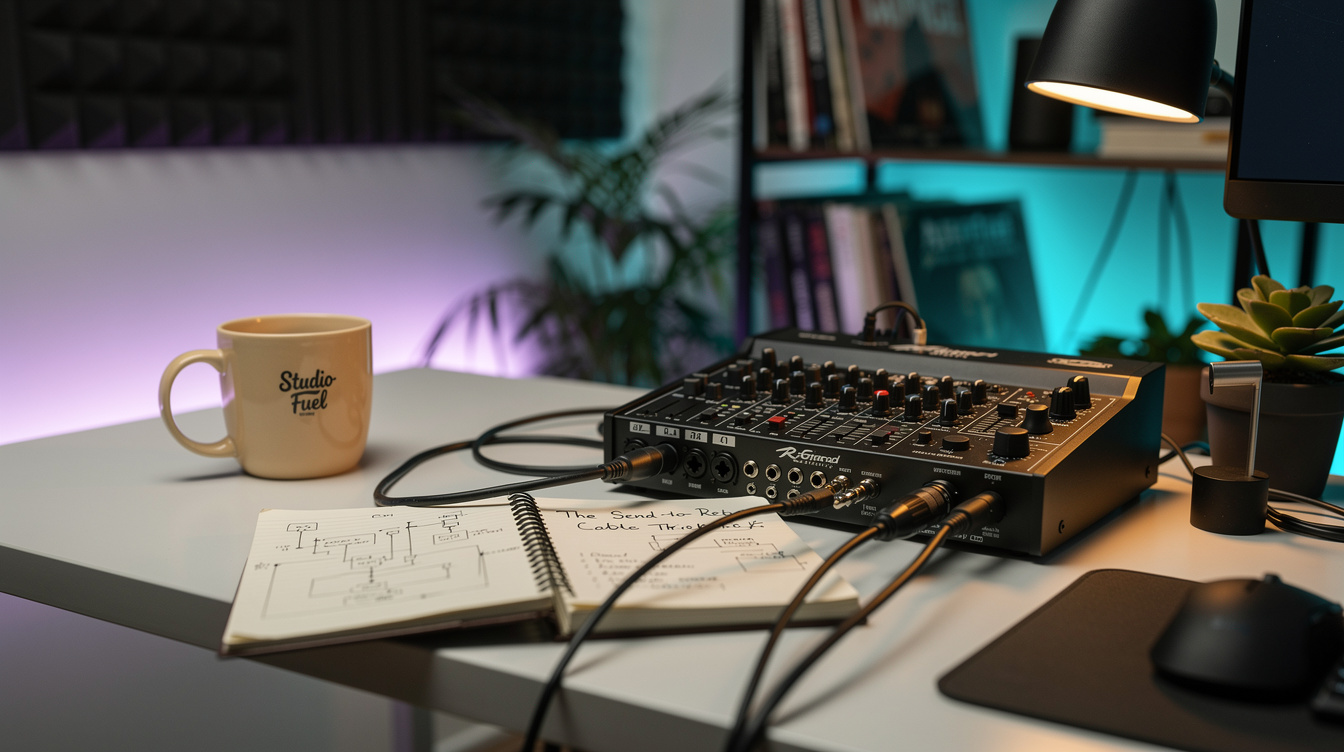
There is exactly one workaround, and it costs about four dollars. A patch cable from a send jack to a return jack takes the audio out of the box and puts it back in upstream of where it left. The internal router never has to permit anything, because from its point of view the return is just another input.
What the Cable Actually Does
| Element | Where it goes | Why |
|---|---|---|
| Patch cable | Send 1 → Return 1 | The physical feedback path |
| Path input | Return 1 | Where the regenerated signal re-enters |
| The effect | On that path | Whatever you want to process every lap |
| Path output | Send 1 | Closes the loop |
| Return level | Start at 20% | This is the feedback amount |
| High cut in the loop | 4-6 kHz | Not optional. See below |
The return level is the single most important number in the entire setup, because it is the loop gain. At 20 percent each lap is a fifth as loud as the one before and the thing dies out in four or five passes. At 90 percent it takes thirty passes to decay. At 100 percent it never decays. Above 100 percent it grows without bound, which is not an effect so much as an unbounded oscillator connected to your monitoring.
How many loops you have to work with depends on the unit. Helix Floor and Rack give you four mono send/return pairs; HX Effects also has four; Quad Cortex has two; HX Stomp has one, which is enough. Check your I/O page for what the unit will let you assign as a path input before you plan a preset around this — that assignment, not the cable, is the part that varies.
The Four Things It Unlocks
1. Repeats That Never Decay
Put a delay block inside the loop with its own internal feedback at zero. The delay is now a pure single-repeat device, and the loop provides the regeneration. Two things change relative to a normal delay.
The first is that you can exceed unity. Delay blocks cap feedback at 100 percent, which means the repeats always eventually stop. A loop at 101 percent does not, and a loop at exactly 100 percent gives you a sustaining bed you can play over — the closest thing to a freeze function on a unit that does not have one.
The second is more useful in practice: anything else you put on that path gets applied again on every repeat. A pitch shifter, a filter, a bitcrusher, a low cut. The repeats do not just fade, they transform. That is the difference between a delay and an evolving texture, and it is not reachable with a delay block's own feedback control because that feedback happens inside the algorithm, before your other blocks see it.
2. A Filter That Self-Oscillates
A resonant filter with enough Q and enough loop gain will sing. Put a filter block in the loop, set resonance high, and bring the return level up until the loop starts ringing at the filter's cutoff. Sweep the cutoff and you get the sound of a modular synth filter being played — a pure tone that tracks your knob or expression pedal rather than your strings.
This one is genuinely impossible internally. Filter blocks on these units have no feedback parameter at all, because a filter is a forward process. The oscillation is a property of the loop, not of the block.
3. Reverb That Grows
A reverb inside the loop re-reverberates its own tail. At low loop gain this reads as a longer decay, which is not interesting since you could just turn the decay up. Past roughly 70 percent it stops sounding like decay and starts sounding like accumulation — the wash gets denser and louder after you stop playing, arriving somewhere around two seconds later at a volume you did not put in.
That is the sound behind a lot of ambient records, and it is worth knowing that it is a routing effect rather than a reverb setting, because no amount of hunting through decay and size parameters will produce it.
If you want the pitch-rising version of this specifically, the rising vs. fixed shimmer breakdown covers the octave-stacking math and the two-stage in-the-box approximation. This post is the general case; that one is the single most popular application of it.
4. Modulation That Compounds
A chorus or phaser applied once produces a fixed amount of movement. The same block applied on every lap produces movement that deepens over time, because each pass modulates a signal that was already modulated. A phaser at a modest depth inside a 60 percent loop sounds like a phaser for the first second and like a rotary cabinet falling down a stairwell by the third.
Worth knowing: this compounds the modulation rate interaction too. If the loop time and the LFO rate are close to a simple ratio, the effect locks into a pattern and repeats. If they are not, it never quite repeats. Neither is more correct — but the drifting version is the one people are usually chasing, and you get it by making sure the loop time is not a neat multiple of the modulation rate.
Calibrating the Loop
Do this before you play anything through it, with your monitoring turned down.
- Cable the send to the return. Nothing else yet.
- Set the return level to 0%. Confirm silence.
- Set the send level to unity (or whatever your unit calls 0 dB). Leave it there permanently. Adjust the return, not the send — one variable is easier to reason about than two.
- Put a high cut at 4-6 kHz inside the loop, before the send. Do this now, not later.
- Bring the return up in 10 percent steps, playing a single note at each step and listening to what happens after you stop.
- Stop when the tail behaves the way you want. For the four applications above that is somewhere between 40 and 70 percent.
Step 4 is the one that gets skipped, and here is why it matters more than it looks.
I expected the failure mode to be runaway oscillation. That is what everyone warns about, so I set the return to 70 percent, muted the strings, and waited for the thing to take off. It never did. What happened instead was that the noise floor came up — a soft hiss that got louder over about eight seconds and settled into a steady bed sitting well above the unit's normal silence, with no oscillation anywhere in sight.
The reason is that every lap re-converts the signal, and every conversion adds its own noise. That noise then goes around again and gets added to. Loop gain below unity bounds it, so it does not run away, but it converges to a level that can be twenty-plus dB above the noise floor you started with. Lowering the loop gain helps only a little, because it lowers the signal by the same amount you lower the noise. What actually fixes it is filtering: converter noise is broadband and weighted toward the top end, so a 4-6 kHz high cut inside the loop pulls most of it out on every pass while leaving the guitar signal mostly intact. Same fix as the damping filter that governs a shimmer's climb, for the same reason, in a different application.
Add a low cut around 120 Hz while you are in there. Low-frequency energy accumulates in a feedback loop the same way it does in two reverbs running in parallel, and it muddies far faster than the top end hisses.
What It Costs
| Cost | Detail |
|---|---|
| Latency | One D/A + one A/D per lap, roughly 5-10 ms on most floor units, plus block latency |
| I/O | One send and one return, permanently. On an HX Stomp that is your only loop |
| An analog pedal slot | You cannot use that loop for a real pedal at the same time |
| Noise | See above. Budget a high cut inside the loop as part of the design |
| Snapshot safety | Loop gain that is safe on one snapshot may not be on another. Check every one |
The latency deserves one more sentence. It is not audible as delay — 8 ms is roughly standing three meters from your amp — but it does mean each lap's attack transient is slightly softer than the last. On a delay that reads as the repeats getting rounder over time, which usually sounds good. On a filter oscillation nobody notices. On percussive material it can read as smearing, and that is the one case where the in-the-box approximation of chaining blocks in series actually sounds cleaner.
When Not to Bother
If you want self-oscillating delay and nothing else, check whether one of your delay models already does it at maximum feedback. Several do, at no I/O cost and no added latency, and building a cable loop to reproduce a behavior you already have is engineering for its own sake.
If you need the preset to be reliable on a stage where someone else might repatch the back panel, do not build a preset whose signal path depends on a cable being where you left it. A preset that loses its send-to-return jumper does not sound slightly different — the path goes silent.
And if you have one loop and you use it for a real pedal, that is a fair trade to keep making. The cable trick buys you effects you cannot otherwise have, but it buys them with the only analog insert point you own.
What it changes, if you do build it, is the class of things you can even attempt. The four applications above are the useful ones, but the general principle is that any forward-only block becomes a regenerating block the moment its output can reach its own input. Most of what a modeler cannot do is a routing limitation rather than a DSP limitation — and this is the one routing limitation you can defeat with hardware.