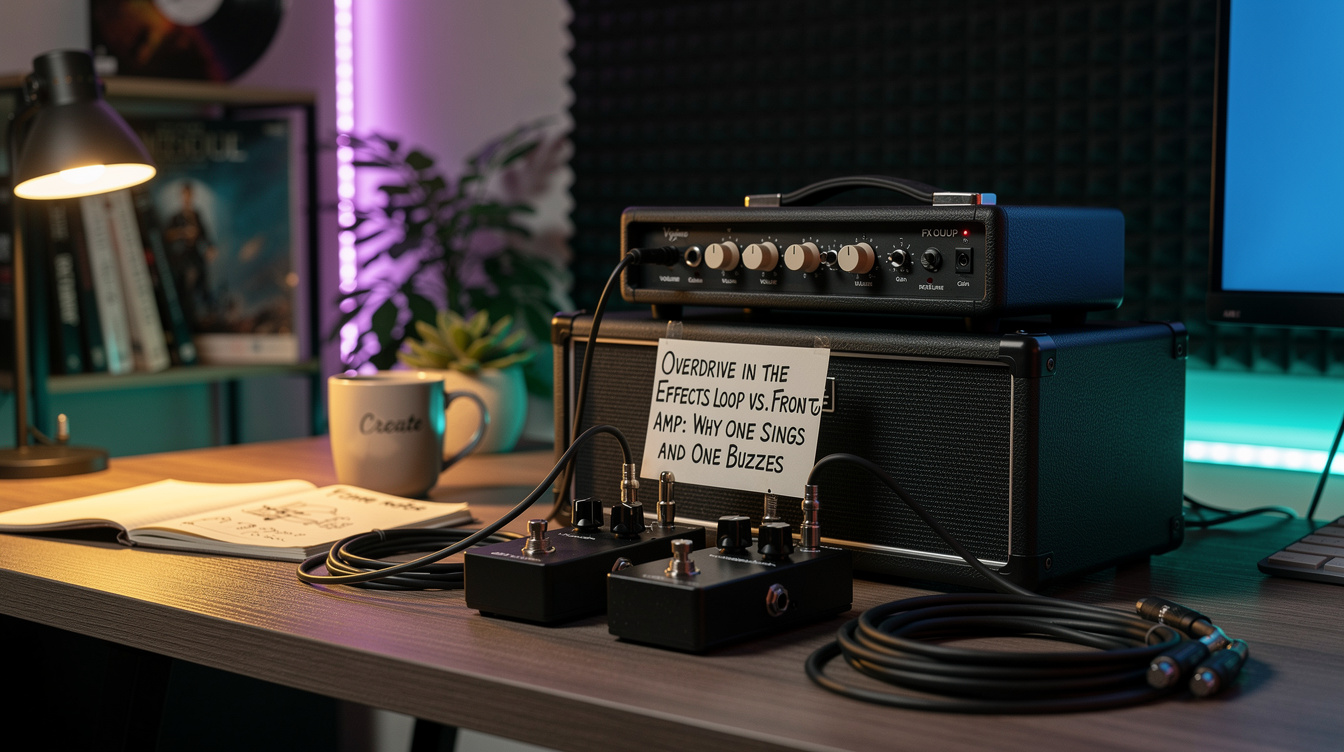
The stacking reverbs guide identified the mechanism behind reverb mud: low-mid energy accumulates below 250 Hz when the first reverb's wet signal feeds into the second reverb's input. You can address that in series with a high-pass filter on the second reverb's input, and for most applications that's enough. But there's a routing approach that solves the problem structurally rather than correcting it after the fact.
Parallel reverb routing runs two reverb effects independently, fed from the same dry signal, and combines their outputs at a mixer rather than passing one's output into the other's input.
The difference matters most when you need both reverbs to do substantial work, when each needs real depth or density that high-pass filtering would undermine.
What Series Routing Does
In a series chain, the signal flows through the first reverb, and the combined wet-plus-dry output of that reverb then enters the second reverb's input.
This means: the second reverb processes not just your guitar signal, but the entire tonal character of the first reverb, including its low-mid content, its pre-delay behavior, and its early reflections. The second reverb generates its own low-mid content on top of the first reverb's low-mid content. The result is a tonal accumulation in the 150–350 Hz range that no individual reverb setting can prevent.
When I first tried using a Strymon BigSky followed by a small room reverb pedal, I spent forty minutes assuming the room reverb's pre-delay was wrong, then its decay time, then its mix level. None of those adjustments solved it. The mud was in the signal entering the room reverb, not in how the room reverb was processing it. The problem was upstream.
What Parallel Routing Does
In a parallel chain, the dry guitar signal splits before any reverb processing. Reverb A receives only the dry signal. Reverb B receives only the dry signal. Their outputs are combined at a mixer, not at the input of one or the other.
The result: each reverb is processing the same clean, uncolored dry signal. Whatever low-mid content reverb A generates in its wet output stays in reverb A's output. It never enters reverb B's processing chain. The two reverbs are acoustically independent even though their outputs combine.
The combined output still has the low-mid content of both reverbs, but there's an important difference: you can control each reverb's mix independently at the mixer stage, which lets you reduce the low-mid contribution of either reverb without affecting its decay character. In series, reducing mix on reverb A also reduces the input level that reverb B receives, which changes reverb B's behavior. In parallel, mixing is fully decoupled from processing.
When Parallel Routing Is Worth the Effort
Series with a high-pass filter is simpler to set up and adequate for most applications. Consider parallel when:
- Both reverbs need to be at 40%+ mix with full low-end presence (shimmer reverb + room reverb, for example, where high-passing would remove what makes each one useful)
- You want each reverb to maintain its own independent stereo field without bleed from the other
- You're using one reverb as a pre-delay and one as a long decay, and you need the decay reverb to respond to the dry guitar rather than to the pre-delayed signal
- The mud persists after high-pass filtering because the low-mid issue is in the fundamentals you can't cut
Series with a high-pass filter is adequate when: the mix levels are moderate (under 35% on the first reverb), the first reverb's character doesn't depend on its low end, or the routing simplicity is worth the mild compromise.
How to Set Up Parallel Routing
On a Modeler (Helix, Quad Cortex, HX Stomp)
Modelers make parallel routing straightforward because they support multiple signal paths natively.
Helix / HX Stomp: Add a Split block at the point where you want to branch. Route Path A to reverb 1. Route Path B to reverb 2. Use a Mixer block at the output to combine the paths. Set each path's volume at the Mixer to taste (typically 0dB on both), then adjust individual reverb mix controls.
The Helix's Mixer block also lets you pan the two reverb outputs before combining, which can give each reverb its own spatial placement in the stereo field before they mix at the output.
Quad Cortex: The QC's grid layout supports parallel routing by placing blocks on separate rows. Rows 1 and 2 can run independently; insert a merge node at the output to combine them. Assign reverb 1 to Row 1 and reverb 2 to Row 2, with the merge node bringing both outputs to a single signal.
On a Hardware Pedalboard
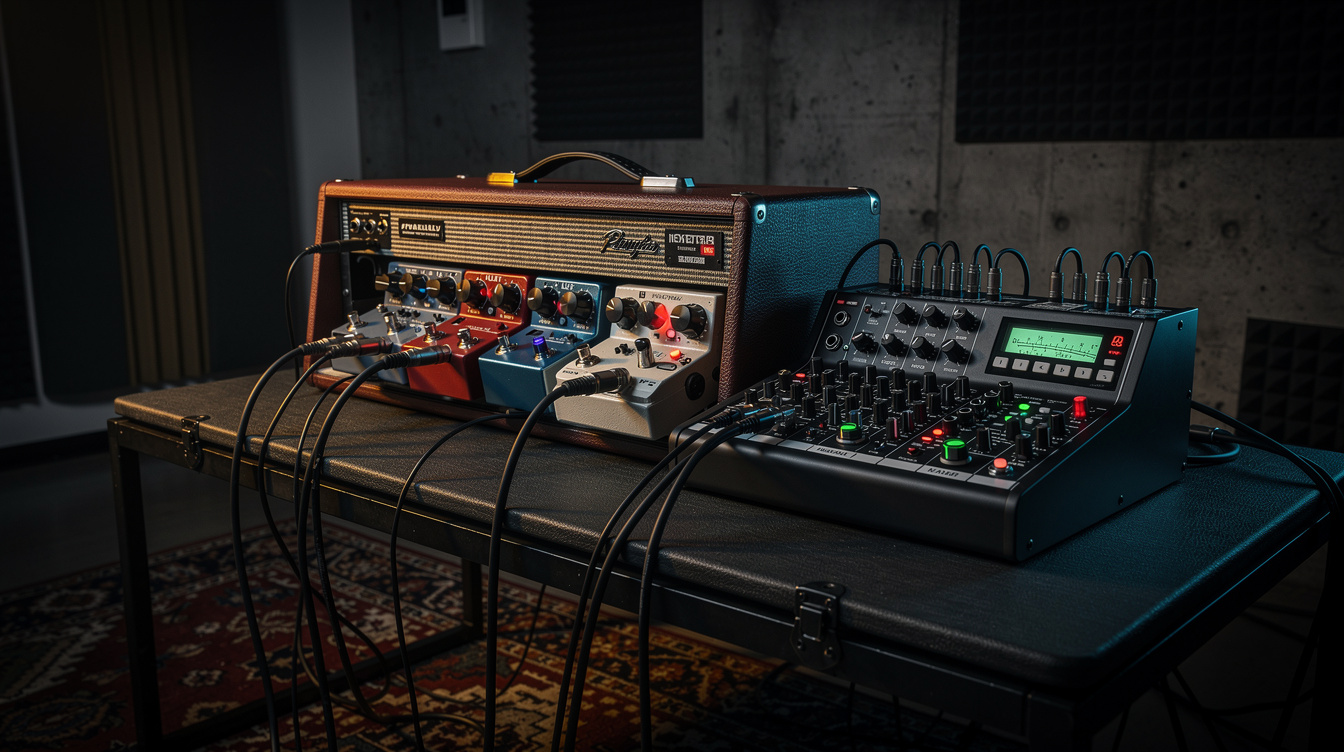
This requires a signal splitter and a stereo mixer, or a purpose-built parallel loop unit. Practical options:
Source Audio Ventris: A single stereo reverb pedal that runs two independent reverb engines in parallel internally, with a stereo mixer built in. This is the most plug-in-play solution; you get parallel routing within a single enclosure. The tradeoff: you're limited to Ventris's reverb algorithms for both engines.
Splitter + two reverbs + mixer: A passive signal splitter (or a buffer-based active splitter like the Lehle Splitter) feeds two separate reverb pedals; their outputs combine at a passive or active stereo mixer (Saturnworks, Xotic X-Blender, etc.). This works with any two reverb pedals and gives full algorithm flexibility. It requires three extra pieces of hardware and adds cable complexity.
Loop switcher with parallel mode: Some switchers (Boss ES-8, Gigrig G2) support parallel routing in their loop configuration. If you already run a loop switcher, check whether it supports parallel sends before buying a separate splitter.
Suggested Configurations
Shimmer + Room
A common ambient pairing: a shimmer reverb (BigSky Shimmer, Meris Mercury7, EHX Cathedral shimmer mode) running in parallel with a small room reverb (BigSky Room, Strymon Flint reverb at shorter decay, TC Hall of Fame mini).
In series, the shimmer's pitch-shifted harmonics feed into the room reverb and create a phasiness in the high-mids that sounds synthetic. In parallel, the room reverb processes only the dry guitar, and the shimmer adds a separate halo above the dry-plus-room signal. The combination sounds like a guitar in a room with a shimmer source behind it rather than like a shimmer pedal running through a room simulation.
Settings to start:
| Shimmer Reverb | Room Reverb | |
|---|---|---|
| Decay | 8–12 seconds | 0.8–1.5 seconds |
| Mix | 25–35% | 30–40% |
| Pre-delay | 0ms | 15–25ms |
| Low cut | 200 Hz on wet | 150 Hz on wet |
Hall + Pre-Delay
A hall reverb with a very short pre-delay reverb running in parallel is a different approach: the pre-delay reverb adds initial reflection detail that a long hall reverb smears. In series, the pre-delay reverb feeds into the hall reverb and the reflections extend into the hall's decay, which sounds washed. In parallel, the early reflection texture and the long hall decay are independent, and the guitar's attack reads through both clearly.
The reverb pedal pairings guide covers specific hardware combinations in series that work well. Stacking reverbs covers the series approach with high-pass filtering as the primary technique. Parallel routing is the third option: more setup, more flexibility, and the only approach that solves the accumulation problem at its source rather than managing it after the fact.