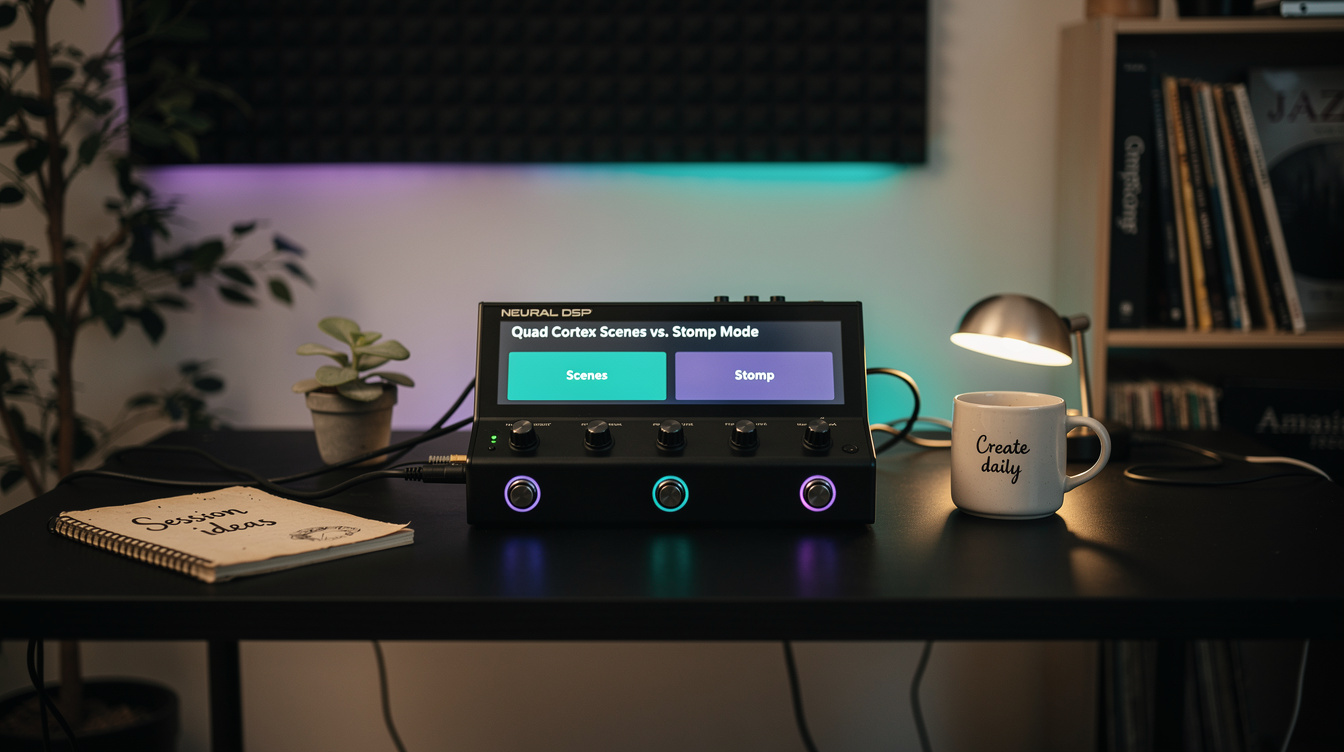
Start Here: Scenes on the Quad Cortex are preset states. You define up to 8 complete signal chain configurations, then switch between them with a single footswitch tap. Stomp Mode turns the footswitches into individual effect toggles, like a traditional pedalboard. Scenes are better for players who use consistent configurations with defined transitions. Stomp Mode is better for players who improvise their effect combinations on the fly. Most players should build around Scenes with one Stomp Mode bank reserved for mid-set flexibility. The decision framework is in How to Choose. The setup workflow for each is below.
Why This Question Matters More Than It Looks
The Quad Cortex has 8 footswitches. In any given preset, you have two fundamentally different ways to assign those switches: Scenes or Stomp Mode. You can also blend the two using the Cortex Cloud architecture, assigning some switches to scene changes and others to individual block toggles, but the primary organizational philosophy has to be one or the other.
Most players who are new to the Quad Cortex default to Stomp Mode because it looks familiar. You have a floor unit with footswitches, and you press footswitches to turn effects on and off. That's how pedalboards work. That's how people who came from pedalboards expect floor units to work.
The problem with this approach is that it misses what makes the Quad Cortex different from a pedalboard, and it usually leads to more footswitch taps per song than necessary, which is extra cognitive load during a performance, which is noise in your mental bandwidth at exactly the wrong moment.
What Scenes Actually Do
A Scene on the Quad Cortex is a snapshot of the entire signal chain state within one preset. Every block's bypass state, every block's parameter values, every output routing. All of it is captured in a Scene. You can define up to 8 Scenes per preset.
The critical feature is that Scenes can also include parameter values that change per scene. This is different from simply toggling blocks on and off. With Scenes:
- Your Scene 1 (clean) might have the amp model's gain at 2.0, the reverb mix at 25%, and a delay block bypassed
- Scene 2 (lead) might have the same amp model at gain 4.5, the reverb mix at 35%, the delay active with a longer feedback time, and the compressor bypassed
- Scene 3 (chorus section) might return to a clean amp setting but add a chorus block with specific rate and depth parameters
None of this requires multiple preset changes. None of it requires pressing multiple footswitches in sequence. One tap, complete transformation.
This is the fundamental difference from Stomp Mode. In Stomp Mode, you can toggle a delay block on and off, but you can't simultaneously change the amp's gain, the reverb mix, and activate a different modulation depth in one tap. With Scenes, you can.
What Stomp Mode Actually Does
Stomp Mode converts the 8 footswitches into individual block toggles. Each switch is assigned to one block in the signal chain, and pressing it toggles that block on or off, exactly like pressing a footswitch on a physical pedalboard.
This is more flexible in real-time improvisation contexts. If you don't know whether you'll want the chorus on during the bridge, you can decide in the moment. The footswitches aren't locked to predetermined configurations.
The tradeoff: you need more taps to achieve the same result. Transitioning from a clean rhythm tone (compressor on, reverb low, gain low) to a lead tone (compressor off, gain higher, reverb higher, delay on) requires 3–4 switches in Stomp Mode. In Scenes, it requires 1.
There's also a visual organization tradeoff. In Stomp Mode, what's visible on the footswitch labels is block names. In Scene Mode, what's visible is scene names that you define: "Verse," "Chorus," "Solo," "Bridge." A Stomp Mode setup shows you what effects are available; a Scene setup shows you where you are in the song.
The Hybrid Approach
The Quad Cortex's actual architecture supports mixing these modes. You can assign some footswitches to scene changes and keep others as stomp toggles. This is the approach I settled on after testing both pure modes across different playing contexts.
A typical hybrid setup looks like this:
| Footswitch | Assignment | Function |
|---|---|---|
| 1 | Scene 1 | Clean / Rhythm |
| 2 | Scene 2 | Crunch |
| 3 | Scene 3 | Lead |
| 4 | Scene 4 | Ambient / Clean Lead |
| 5 | Stomp: Boost block | Add boost independently of scene |
| 6 | Stomp: Tremolo block | Tremolo toggle, independent |
| 7 | Stomp: Wah/filter | Wah toggle, independent |
| 8 | Stomp: Looper | Looper control |
The first 4 switches handle your core tone configurations: the ones you transition between song to song or section to section. The last 4 handles add-on effects that you use independently, without wanting them locked to a specific scene state.
This setup requires fewer total taps than a pure Stomp Mode arrangement while preserving the flexibility to add effects spontaneously.
Scene Parameter Changes: The Feature Most Players Miss
When you're in Scene Mode, you're not just toggling blocks on and off; you can make blocks behave differently in different Scenes while remaining active in all of them.
Practical example: your reverb block is active in all scenes, but the mix and decay time change:
| Scene | Reverb Mix | Decay | Reverb Type |
|---|---|---|---|
| Clean/Rhythm | 15% | 1.2s | Hall |
| Chorus Build | 30% | 2.0s | Hall |
| Solo | 20% | 1.5s | Spring |
| Ambient Pad | 55% | 4.5s | Shimmer |
Without Scenes, getting these four reverb configurations would require 4 separate reverb blocks in the signal chain, each toggled independently. With Scenes, it's one reverb block, 4 different parameter snapshots. That's a more efficient use of DSP and a simpler footswitch layout.
The same principle applies to amp parameters. Your amp model doesn't have to stay at the same gain and EQ settings across all scenes. Scene 1 can have the amp at gain 2.5 with a scooped mid, and Scene 3 can bring the same amp model to gain 5.5 with a boosted mid, without a separate amp block or a gain boost pedal block.
Building a Scene-Based Preset from Scratch
Here's a practical workflow for building a Scenes-based preset on the Quad Cortex:
Step 1: Define your tone needs before you open the Cortex. Write down the distinct tonal states you actually need for your typical set. Most players need 3–5 genuinely different configurations. Don't build scenes around effects you use occasionally; those go in Stomp Mode.
Step 2: Build your most complex tone first. Usually the lead or ambient tone. This is the scene with the most blocks active, which sets the DSP ceiling for the preset. If your lead scene uses 12 DSP blocks, that's your maximum for all scenes.
Step 3: Save that as Scene 1, then build Scene 2 by modifying it. The Quad Cortex copies Scene 1 parameters to a new scene when you create it. Make your changes, save. Repeat for each additional scene.
Step 4: Set meaningful names. "Scene 1" tells you nothing mid-song. "Verse Clean" or "Solo" or "Ambient" tell you exactly where you are. Use the display labels you'll actually see from the floor.
Step 5: Assign Stomp switches for anything that doesn't fit the scene model. Effects you use independently and unpredictably belong in Stomp Mode slots.
How to Choose
Build around Scenes if:
- Your set list is consistent: same songs, same arrangements most nights
- You transition between clearly defined tone states (clean, rhythm, lead, ambient) with predictable timing
- You want minimum footswitch taps per transition
- You're playing worship, cover band, or any structured performance context
- You find the cognitive load of managing multiple stomp switches mid-song distracting
Build around Stomp Mode if:
- Your set lists are improvised or heavily varied night to night
- You use a lot of different effect combinations that you can't predict in advance
- You came from a physical pedalboard and want the same interaction model
- You frequently need effects that exist outside your standard tone configurations
Build a hybrid if:
- You have 3–5 core tone states that rarely change AND a handful of add-on effects you use freely
- This is most players. Start hybrid.
FAQ
Can I switch between Scenes and Stomp Mode during a performance? Yes. There's a mode switch footswitch combination that toggles between views. In practice, most players don't do this mid-song. If you find yourself wanting to, your preset architecture is probably trying to serve two different playing styles simultaneously. Consider splitting into two presets.
How many scenes can one Quad Cortex preset have? Eight. If you need more tone states than eight, you either need a second preset (switchable between songs, not between sections) or you need to reconsider whether some "scenes" could be Stomp Mode additions to existing scenes.
Do Scenes affect effects loop (FX loop) sends? Yes. Scene-based parameter changes can include FX loop routing and levels, which means you can configure external pedals differently per Scene. This is useful if you run real pedals in the Quad Cortex's FX loops and want them configured differently for different song sections.
Is there a performance penalty for using Scenes vs. Stomp Mode? No. The Quad Cortex processes all blocks in the preset regardless of their active state. Switching scenes doesn't change DSP load; it's a configuration state change, not a processing change. The DSP budget is the same whether you're in a full-lead Scene or a stripped-down clean Scene.
What happens to my Stomp Mode assignments when I switch Scenes? Stomp Mode switches that are not scene-assigned retain their state independently of scene changes. A Stomp-assigned tremolo that you turned on in Scene 1 stays on when you switch to Scene 2, unless Scene 2 specifically overrides that block's state.