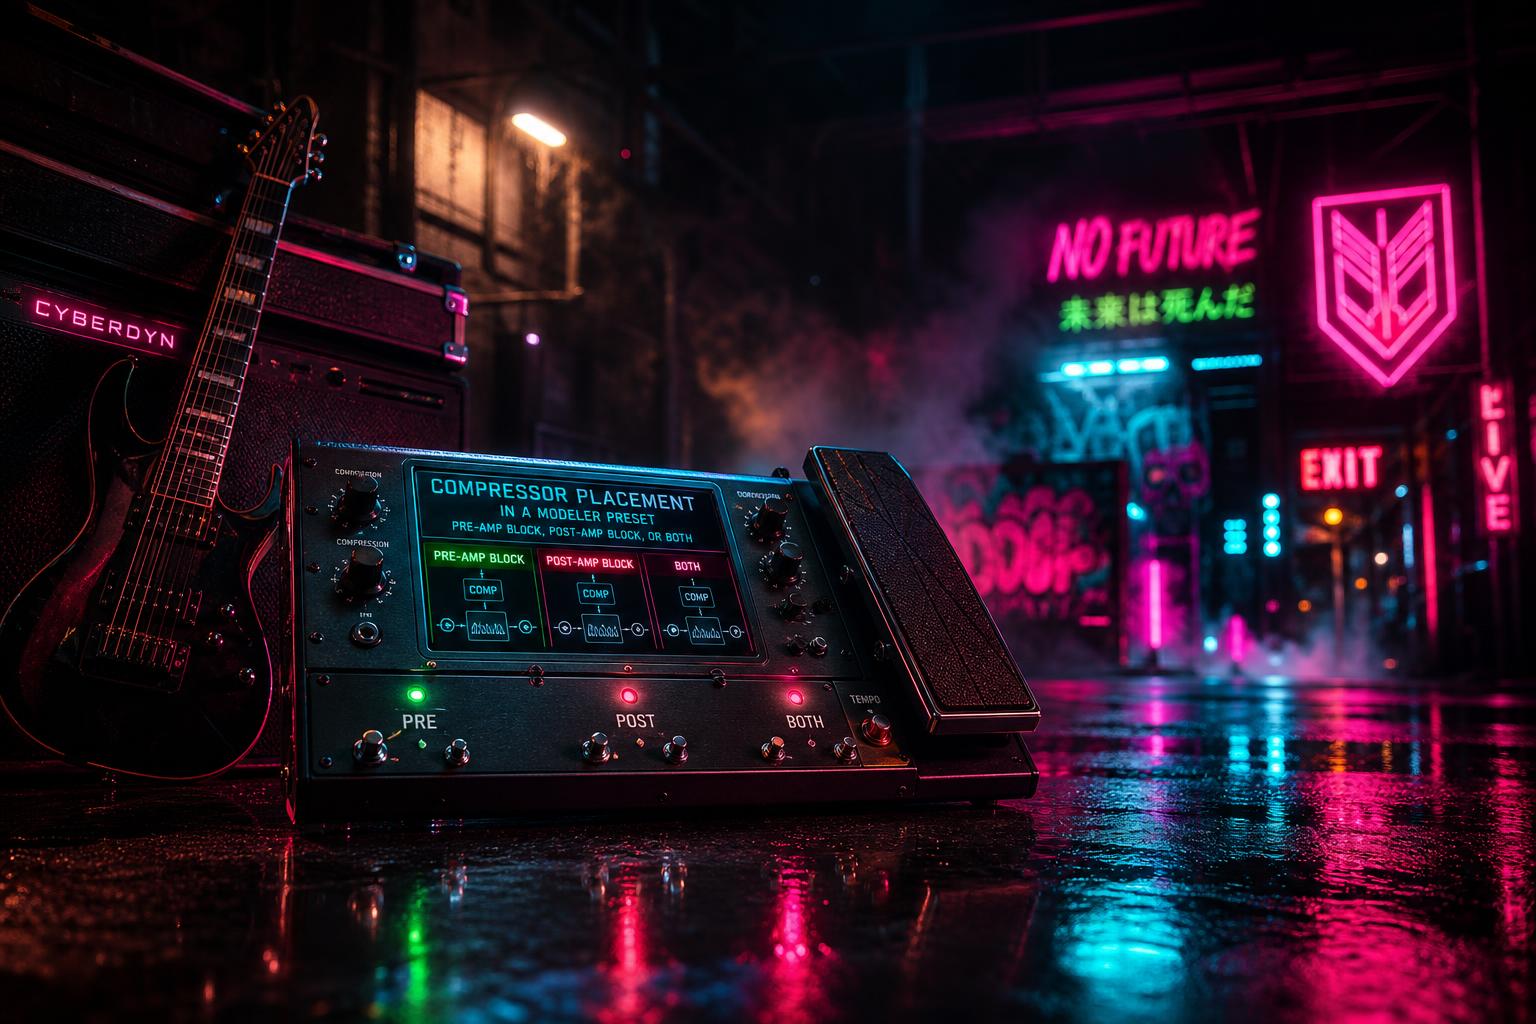
Quick read: A compressor in a modeler preset can sit in three places — before the amp block, after the amp block, or in both positions. Pre-amp compression tightens the signal feeding the amp and adds sustain to held notes; post-amp compression evens out the signal going to FOH or in-ears. Both at once is the country and Nashville session approach. Attack time matters more than ratio — 3-10 ms before the amp, 10-30 ms after. The Helix LA Studio Comp and the Quad Cortex Optical Comp are both LA-2A-style models good for post-amp work; the Deluxe Comp and Solid State Comp are 1176-style models better for fast pre-amp tightening. Match the output gain of the compressor block to within ±1 dB of bypass so the gain structure does not shift when you engage it.
The signal chain question that comes up most often in the metal-modeler forum cycle is whether the compressor goes before or after the amp, and the answer is that both placements do different things and the choice is not arbitrary. Pre-amp compression changes the dynamic feed into the amp and modifies the way the amp distorts. Post-amp compression acts on the amp's output and shapes the dynamic envelope of the final signal. The two operations are not interchangeable, and a preset built for one purpose can be measurably wrong if the compressor is in the other position.
The piece that follows lays out the three placements with measurements from a Helix Floor and a Quad Cortex, the parameter values that work for each placement, and a decision framework for which to pick. The compressor models referenced are the LA Studio Comp and Deluxe Comp on Helix and the Optical Comp and Solid State Comp on Quad Cortex, but the same principles apply to the equivalent blocks on Fractal Axe-FX III, Headrush MX5, and any other modeler with comparable DSP topology.
The Three Placements
A modeler preset signal chain typically looks like this:
input → drive → compressor → amp → cab/IR → post FX → output
The compressor block can move along that chain. Three positions are common:
| Placement | Signal flow | Acts on | Primary purpose |
|---|---|---|---|
| Pre-amp (before drive) | input → comp → drive → amp | Clean source signal | Tightens pick attack, evens out source dynamics |
| Pre-amp (after drive) | input → drive → comp → amp | Driven signal feeding amp | Sustains driven notes, controls drive output level |
| Post-amp | amp → cab → comp → output | Mixed amp signal | FOH-style level control, sustain on lead tones |
Each placement compresses something different and produces a measurably different output signal. The same compressor block with the same parameters in two different positions does two different jobs.
Pre-Amp Compression Before the Drive
The compressor in front of the drive block tightens the source signal so that the drive sees a more consistent input level. The use case is country, Nashville session, and any tone where the goal is a tightly controlled attack with predictable note-to-note level.
The classic Nashville chain — Telecaster into a compressor (Keeley Compressor Plus, Wampler Ego, or any clean-style comp) into a Tube Screamer into a Deluxe Reverb — works in a modeler the same way. A compressor block at the front of the chain, set for 3:1 ratio, 5 ms attack, 100 ms release, 3-4 dB of gain reduction, feeds a controlled signal into the drive. The pick attack is preserved because the 5 ms attack lets the transient through before clamping. The body of the note is compressed, which gives the held notes a more consistent level into the drive.
Measured output level into the amp block changes when the compressor is engaged. With 3-4 dB of gain reduction and the compressor output gain matched to bypass, the RMS level into the amp is about 1-2 dB higher than without the compressor, because the dynamic range has been reduced. The amp model responds to this exactly the way a real amp responds to a hotter input — slightly more saturation on lead notes, slightly tighter response to muted strokes. The difference is audible but not dramatic.
The mistake to avoid is the compressor's output gain being set wrong. A compressor block with a gain knob set 3-4 dB hot (which is the default on many models, because the gain reduction is supposed to be compensated by makeup gain) feeds a hotter signal into the amp than the bypass condition. The amp's perceived gain structure shifts when the compressor is engaged, and the preset sounds different depending on whether the compressor is on or off. The fix is to set the makeup gain so that the level into the amp is the same with the compressor engaged as it is with the compressor bypassed — within ±1 dB at the same pick force.
Pre-Amp Compression After the Drive
The compressor between the drive block and the amp block acts on the already-driven signal. The drive's distortion is preserved, but the level feeding the amp is compressed, which adds sustain and changes the way the amp's preamp responds.
The use case here is lead tones where the goal is more sustain than the amp model naturally produces. A real tube amp has natural compression in the power section — the power tubes compress on hard transients and recover slowly, which is part of why a cranked tube amp feels "alive." A modeler's amp model emulates this behavior but typically less dramatically than a real cranked tube amp. A compressor after the drive and before the amp adds the missing sustain.
Settings for this placement: 4:1 ratio, 10 ms attack, 200 ms release, 4-6 dB of gain reduction. The attack is slower than the pre-drive placement because the signal is already driven and the pick transient has already been shaped by the drive's clipping. The release is longer to let the compressor recover slowly between notes, which produces the "swelling" sustain that lead tones want.
The measurement that matters here is the dynamic range of the signal feeding the amp. With the compressor engaged, the peak-to-RMS ratio of the signal into the amp drops by 3-5 dB. The amp model sees a signal with less variation between hard-picked and lightly picked notes, which means the perceived gain is more consistent across playing dynamics. This is what most players hear as "sustain" — the held note does not fall away the way it does without the compressor.
The trade-off is the loss of dynamic expression. A compressor at this position with 6 dB of gain reduction means the difference between a hard pick and a light pick is half what it was. For blues and classic rock tones where the dynamics of the touch are the point, this is the wrong placement. For modern lead tones, hair-metal solos, and any context where the goal is a controlled sustained lead voice, this is the right placement.
Post-Amp Compression
The compressor after the amp and cab blocks acts on the mixed amp signal — the signal that would normally go to the speakers in a real rig. This is the placement that most closely resembles a studio compressor on a recorded guitar track.
The use case is level control for FOH, in-ear monitors, or recording. A live rig where the modeler feeds the front-of-house mixer wants a signal with a controlled peak-to-RMS ratio so the FOH engineer is not constantly riding the channel fader. A 3:1 ratio, 20 ms attack, 100 ms release, 4-6 dB of gain reduction at the post-amp position evens out the level without changing the amp's tone significantly. The attack is slow enough that the pick transients pass through unchanged; the body of each note is compressed to a more consistent level.
The LA-2A-style models — Helix LA Studio Comp, Quad Cortex Optical Comp — are particularly good in this position. The LA-2A's slow attack and program-dependent release make it act gently on guitar signals, more like a leveler than a hard limiter. The pick attack is preserved, the held notes are evened out, and the overall feel of the signal is unchanged.
The measurement that confirms this is the spectral response of the signal with and without the post-amp compressor engaged. With the compressor in, the spectrum is within 0.5 dB of bypass across the full frequency range. The compressor is not changing the tone — it is changing the dynamic envelope only.
The 1176-style models — Helix Deluxe Comp, Quad Cortex Solid State Comp — have a faster attack and a different release behavior. In the post-amp position they work too, but they are aggressive enough that they can audibly grab the signal in a way that the LA-2A models do not. The right tool for the post-amp job is the LA-2A-style model; the right tool for the pre-amp pick-attack tightening is the 1176-style model.
Both Positions at Once
The country, Nashville, and pop-session approach is to run compression in both pre-amp and post-amp positions. The pre-amp compressor tightens the pick attack and shapes the dynamic feed into the amp. The post-amp compressor evens out the final signal for monitoring and recording. The two stages compress different aspects of the signal — the first one acts on transients, the second one acts on sustain — and they do not interact in a way that produces audible artifacts when the settings are appropriate.
Recommended settings for a Nashville-style two-comp chain:
| Position | Model | Ratio | Attack | Release | Gain reduction |
|---|---|---|---|---|---|
| Pre-amp | Deluxe Comp / Solid State Comp | 3:1 | 5 ms | 100 ms | 3-4 dB |
| Post-amp | LA Studio Comp / Optical Comp | 3:1 | 20 ms | 100 ms | 3-4 dB |
Total gain reduction across both stages: 6-8 dB. The signal feels controlled but not crushed. The pick attack is preserved by the slow attack on the post-amp comp. The dynamic range is reduced enough that the signal sits in a mix without level riding.
Two-stage compression is overkill for rock and metal tones. The pre-amp compressor in a metal chain serves a specific purpose (tightening palm mutes), and adding a post-amp compressor adds level control that the noise gate and amp output already provide. The two-stage approach is a country and pop trick, not a metal trick.
The Quad Cortex Output Compressor Decision
The Quad Cortex has a global Output Compressor in the output section that is separate from the compressor blocks in the signal chain. The Output Compressor acts on the summed signal going to all outputs and is functionally identical to a post-amp compressor block placed at the very end of the chain.
The decision is whether to use the Output Compressor or a compressor block. The arguments for each:
Use the Output Compressor when:
- The preset already has the maximum number of blocks and a global compressor saves a block slot
- The signal needs the same compression treatment on all outputs (XLR, headphones, USB, send)
- The use case is pure level control with no need for per-output variation
Use a compressor block when:
- The signal chain needs scene-by-scene control of the post-amp compressor
- Different outputs need different compression (e.g., compressed signal to FOH, uncompressed signal to a recording rig)
- The preset uses both pre-amp and post-amp compression and the post-amp comp needs to be on a switchable scene
Most players are better off with a compressor block, because the block can be scene-controlled and the routing flexibility is worth more than the saved block slot. The Output Compressor is the right pick for a touring rig where every preset uses the same FOH compression and the player does not want to manage it per-preset.
The Decision Framework
Pick the placement by the use case:
- Country, Nashville, pop session tones. Compressor before drive, compressor after amp. Two-stage chain.
- Lead tones with extended sustain. Compressor after drive, before amp. Single stage.
- Metal palm-mute tightening. Light compressor before drive. Single stage. 2-3 dB gain reduction maximum.
- FOH or in-ear level control. Compressor after amp. Single stage. LA-2A-style model.
- Blues and classic rock with dynamic touch. No compressor, or compressor very lightly after the drive. The dynamics are the point.
The thing that matters more than any of this is the makeup gain. A compressor that pushes the signal hotter into the next block changes the gain structure and produces an audibly different preset depending on whether the compressor is engaged. The bypass-matched output gain is the discipline that makes a multi-position compressor chain work, and it is the step most modeler presets get wrong.