Start Here: What you need, what you don't, and what to build first:
- Tools: four things — soldering iron (25-40W), solder (rosin core, 60/40 or 63/37), flush cutters, and a multimeter
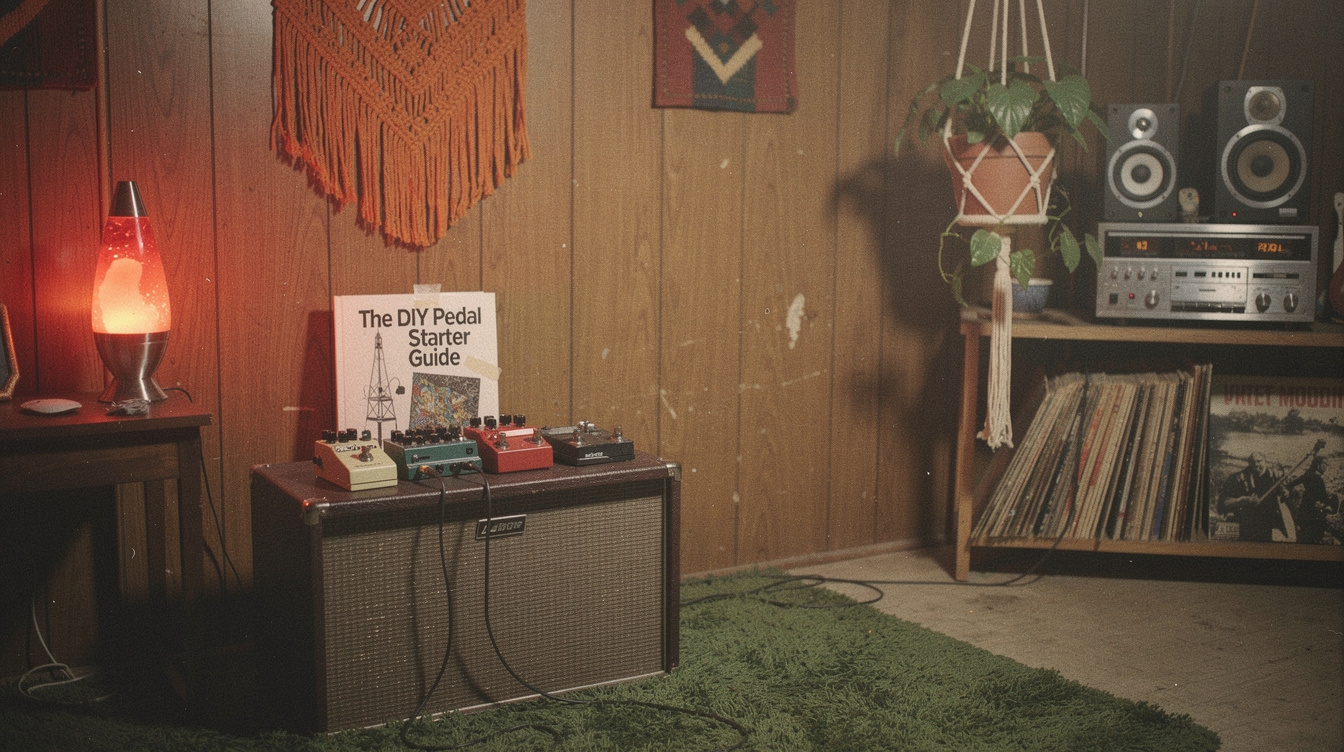
- First build: a boost or a simple overdrive — not a chorus, not a delay, not a reverb; something with 10 to 20 components that you can actually debug
- Use a kit — Aion FX, PedalPCB, or Build Your Own Clone kits come with boards, documentation, and known-good component sourcing; don't source your own components on the first build
- The Aion FX Solstice (Shredmaster clone) is a legitimate first build — good documentation, well-supported circuit, interesting result
- Budget: $80 to $120 for the first build including enclosure and components — not $30, not $400; anyone giving you a $30 estimate is not counting everything
Quick Reference: First Build Checklist
| Item | What to Get | Approximate Cost |
|---|---|---|
| Soldering iron | 25-40W adjustable (Hakko FX-888D or Weller WE1010NA) | $50–$80 |
| Solder | 60/40 or 63/37 rosin core, 0.031" diameter | $8–$12 |
| Flush cutters | Any brand, sharp jaws | $8–$15 |
| Multimeter | Any basic digital multimeter with continuity test | $15–$25 |
| First kit | Aion FX Solstice PCB ($35) + components ($20) + enclosure ($10) | $65–$75 |
| Wire (hookup) | 22-24 AWG solid or stranded | Already in kit usually |
| Total first build | $145–$185 |
What the Internet Gets Wrong About Starting
Most beginner DIY pedal guides start by telling you to buy a soldering station with temperature control and digital readout, a tip cleaner, multiple tip shapes, desoldering wick, flux paste, a PCB holder, helping hands, a magnifying lamp, lead-free solder, a parts tray, an oscilloscope, and ideally a bench power supply.
That's a $400 setup before you've touched a circuit board.
Here's what actually happens: you build one pedal. Then you decide whether building pedals is something you want to keep doing. If yes, you buy more tools as you need them. If no, you have a $50 soldering iron that is useful for approximately 40 other things around the house.
Buy the minimum. Build the thing. Then decide.
The Four Tools You Actually Need
Soldering Iron: 25-40W Adjustable
Temperature control is worth having, but it doesn't need to be expensive. The Hakko FX-888D ($50 to $70 used) and the Weller WE1010NA ($60 to $80 new) are both genuinely good irons that will last 10 to 20 years. Don't buy a $15 Radio Shack iron — it has no temperature control and will either cook your components or refuse to melt solder, depending on the day.
Don't buy a $200 station on the first build unless you already know you're going deeper.
Set temperature: 315°C (600°F) for standard 60/40 solder. This is the standard starting point for leaded solder on PCBs.
Solder: 60/40 or 63/37 Rosin Core
Use leaded solder for your first build. The 60/40 (tin/lead) and 63/37 varieties melt at a predictable temperature, flow cleanly, and produce joints you can visually inspect. Lead-free solder requires higher temperatures and produces less reliable joints for beginners.
0.031" diameter is the practical size for through-hole PCB components. Thicker solder is for plumbing.
Flush Cutters
You'll trim 40 to 80 component leads on a typical pedal build. Any flush cutter with reasonably tight jaw closure works. Hakko, Channellock, or generic Amazon brand — doesn't matter much at this stage.
Multimeter
You need continuity testing (does current flow between these two points?) and DC voltage measurement (is 9V arriving where it should?). Basic digital multimeters in the $15 to $25 range do both. The Fluke 117 is excellent but it's $180. Don't buy the Fluke on the first build.
What to Build First
Not a Chorus. Not a Delay.
Chorus, phaser, delay, reverb, and tremolo effects involve time-based signal processing — bucket brigade devices, clock oscillators, digital conversion, or op-amp configurations that interact in complex ways. When something goes wrong (and something always goes wrong on a first build), debugging these effects requires experience you don't have yet.
Build something that passes current through clipping diodes and changes gain. This category — boost, overdrive, and fuzz — uses the fewest components, has the clearest signal path, and produces results that tell you immediately whether you've done it right.
Use a Kit With Good Documentation
The first build's most important variable is not the circuit. It's the documentation. A well-documented kit from a reputable source tells you:
- Which components go in which holes (the component placement diagram)
- What to do when it doesn't work the first time (troubleshooting guide)
- What values to expect at test points (voltage reference)
Aion FX (aionfx.com) builds high-quality PCBs of documented vintage circuits, licensed where applicable. The component documentation is excellent, the forum support is active, and the circuits are well-understood. The Solstice (Marshall Shredmaster derivative) is a legitimate first build — interesting circuit, well-supported, useful result.
PedalPCB (pedalpcb.com) is similar. The "Cupcake" (based on the LM386) and the "Muffin" (Muff variant) are clean first builds.
Build Your Own Clone (buildyourownclone.com) sells complete kits including components and enclosures. Prices are higher than buying separately, but the everything-in-one-box approach eliminates sourcing errors on the first build.
The Build Process
Step 1: Populate Small Components First
Install resistors, then capacitors (ceramic before electrolytic), then transistors and ICs. This order keeps small components from getting knocked around while you work on larger ones. Resistors and ceramic caps are non-polarized — they go in either direction. Electrolytic capacitors and diodes are polarized — the stripe or marking on the component tells you which lead goes to which pad.
Step 2: Solder One Lead, Check Placement, Then Solder the Second
Heat the pad and lead simultaneously (1 to 2 seconds), apply solder to the joint (not the iron), let the solder flow, remove heat. The joint should look like a small volcano: shiny, slightly concave, solid. A dull or blobby joint is a cold solder joint — apply more heat, allow to reflow.
Check placement before soldering the second lead. Removing a component after soldering both leads is much harder than adjusting it before.
Step 3: Trim Leads Flush
After soldering each component, trim the excess lead with flush cutters. Untrimmed leads can short against each other or against the enclosure.
Step 4: Test Before Boxing
Before mounting the board in the enclosure, test with a 9V battery or power supply. Connect the input/output jacks and the power supply leads. Plug in a guitar and amp. Play something.
If it works: great. Box it.
If it doesn't: start with the multimeter. Check that 9V is arriving at the power supply input. Check continuity across the signal path. Look for cold solder joints (reheat and reflow suspicious joints). Check polarized components for correct orientation.
The Aion FX documentation includes a voltage reference chart — measure DC voltage at each test point and compare. This is the fastest way to isolate a failed component or bad joint.
Step 5: Wire the Enclosure
Off-board wiring (connecting the board to the input/output jacks, footswitch, and power jack) is often the trickiest part of the first build because it's custom wire routing rather than following a PCB layout. Keep wires short where possible, use different wire colors for different signal paths (usually: input = one color, output = another, ground = black), and double-check connections before closing up.
Common First-Build Problems and Fixes
No signal at all: Check continuity from input jack to board input, and from board output to output jack. Check that 9V is present at the board's power connection. This covers 80% of complete-silence failures.
Signal passes but no effect: Check that the footswitch is wired correctly. Check that the effect is actually in bypass vs. engaged. On 3PDT wired bypass switches, there are 9 lugs — verify the wiring against the documentation diagram.
Loud hum or noise: Check the ground connections. Every jack, the enclosure (if aluminum), and the battery negative should share a common ground point. Missing ground connections cause most noise problems.
Distorted/broken sound: Check polarized components for correct orientation. An electrolytic cap installed backwards will work briefly and then fail. Check that ICs are installed in the correct pin 1 orientation.
What Comes After the First Build
If you build the Solstice and like the process, natural next builds in increasing complexity:
- A clean boost (one or two transistors, minimal components) — useful addition to any board and very simple to debug
- A Tube Screamer variant (PedalPCB "Marg" or similar) — the canonical overdrive circuit; understanding it opens up a huge percentage of drive pedal knowledge
- A Big Muff variant — four stages, symmetrical structure, great documentation across multiple eras
- A Klon derivative (Aion Elektra or similar) — more complex, harder to debug, genuinely rewarding once you understand Klon topology
Each step up adds about 50% more components and a meaningfully harder debugging challenge. The skills transfer — solder joints are solder joints, resistors are resistors, and the multimeter approach works across all circuits.
See our overdrive vs. distortion vs. fuzz guide for context on what each circuit type is doing and why they sound the way they do — useful background before you start building them.
FAQ
Do I need to know electronics to build a guitar pedal kit? No. Kit builds are connect-the-dots construction, not circuit design. You're placing components in labeled positions and soldering them. Understanding why it works helps with troubleshooting, but it's not required to build a functional pedal. The electronics knowledge accumulates naturally as you build more.
Is lead-free solder better? For the environment, yes. For beginner DIY builds, no — lead-free solder requires higher temperatures, forms less visually reliable joints, and is harder to debug. Use 60/40 or 63/37 leaded solder until you have enough experience to manage the higher-temperature technique that lead-free requires.
What's the cheapest credible first build?
The Aion FX Solstice PCB at $35 plus components from Tayda Electronics ($10 to $15) plus a 125B enclosure ($8) puts you at $55 to $58 before tools. If you already have a soldering iron, this is the floor. If you need tools, add the iron ($50) and you're at roughly $110.
How long does a first build take? Four to eight hours is a reasonable estimate for someone who has never soldered before, following a documented kit and going slowly. Experienced builders complete similar circuits in 1 to 2 hours. Don't rush the first one — cold solder joints are the primary failure mode, and they come from going too fast.
Can I substitute components to save money? Not on the first build. Use the exact components the kit specifies. Once you understand the circuit and have a working reference, you can experiment with component substitutions. Changing components before you have a working baseline makes troubleshooting significantly harder.