The short version: Room EQ Wizard (REW) is free, the measurement microphone you need (UMIK-1) is around $100, and the workflow takes about 30 minutes the first time you do it. The output is a frequency response graph that shows exactly which bands your room is boosting and cutting. This is information your ear has been trying to compensate for. You then dial those exact corrections into your modeler's global EQ. The result is a baseline tone that translates between rooms, headphones, and monitors more reliably than any ear-based setup. This is how studio engineers calibrate; the tools just got cheap enough that guitarists can use them.
The global EQ guide recommends an ear-based approach to setting your modeler's global EQ: listen, identify problems, dial in cuts and boosts, repeat. That works. It's how I did it for the first year I owned a Quad Cortex.
But every time I switched between my Yamaha HS8s and my Sony MDR-7506 headphones, my "perfect" global EQ stopped sounding right. I'd cut 250 Hz on the monitors to deal with desk reflection; on headphones the same cut left the tone thin. I was applying a correction that was specific to one playback chain, and I was guessing the magnitude of the correction by ear.
Room EQ Wizard is the tool that fixes this. Free software. One $100 microphone. Thirty minutes of setup. And suddenly the global EQ is doing what it's supposed to do: correcting for the actual frequency response of the room and monitoring chain, not for my best guess.
Here's the workflow.
What You Need
The hardware list is short.
| Item | Why | Cost |
|---|---|---|
| Room EQ Wizard (REW) | The measurement and analysis software | Free |
| miniDSP UMIK-1 | A USB measurement microphone with calibration file | ~$100 |
| Computer with USB | To run REW and connect the microphone | (already have) |
| Monitor speakers or headphones | Whatever you actually monitor through | (already have) |
| Microphone stand or mic boom | To position the UMIK-1 at your listening position | ~$25 if you don't have one |
The UMIK-1 is the standard recommendation because it ships with a frequency-response calibration file specific to your individual mic. Load the file into REW and the software corrects for the microphone's own coloration, giving you measurements that reflect the room and the speakers, not the mic. Other measurement mics work but require careful calibration.
Total investment if you're starting from zero: about $125. Compared to the cost of a modeler upgrade, this is negligible.
What REW Does (and What It Doesn't)
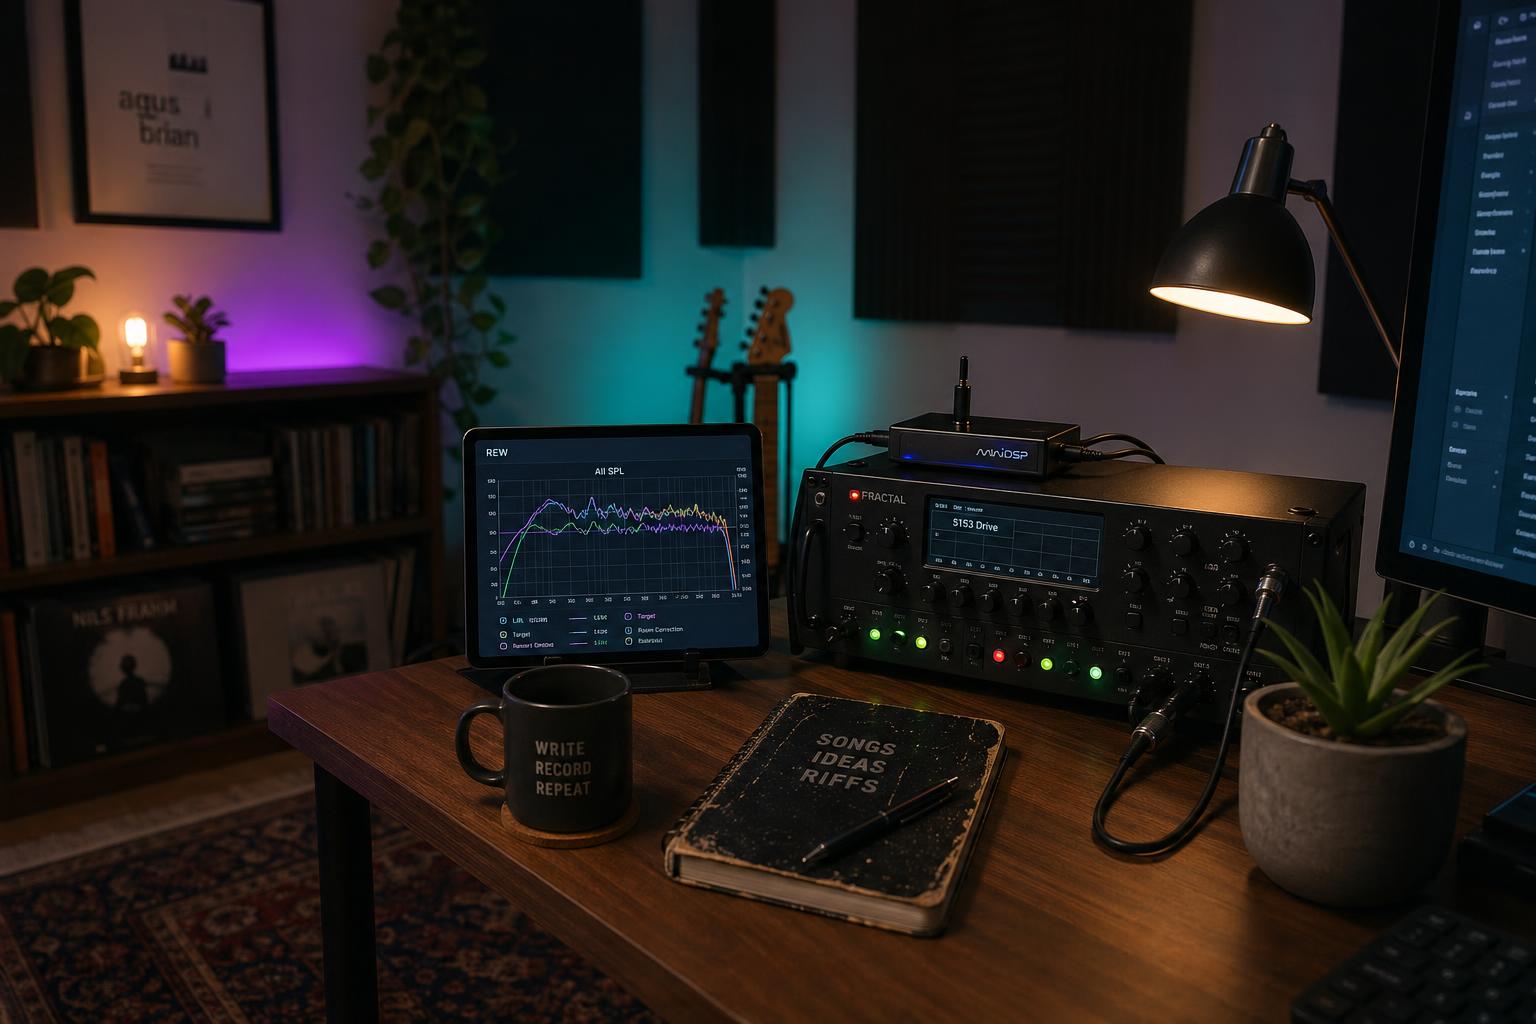
Room EQ Wizard sweeps a test signal across the audible frequency range, records the result through your measurement microphone, and produces a frequency response graph showing how loud each frequency was at the listening position.
A perfect playback chain in a perfect room would show a flat horizontal line. Real chains and real rooms show peaks and dips: bumps where the room is reinforcing certain frequencies, dips where it's cancelling them. The graph tells you exactly where, exactly how much, and how wide the affected frequency band is.
What REW does not do: tell you what your guitar should sound like. The measurement is of your monitoring chain, not of your guitar tone. You're measuring the room's frequency response so you can apply opposite-direction corrections in the modeler's global EQ. The goal is a flat-ish playback chain, after which the guitar sounds like itself.
This distinction matters. Some players run REW and assume the corrections will fix bad guitar tone. They won't. They'll fix bad room response. If the underlying patch is wrong, REW won't help.
Setting Up REW (15 Minutes)
Download REW from roomeqwizard.com. The Windows, Mac, and Linux versions are all the free.
Connect the UMIK-1 to a USB port. The mic ships with a small SD card or a printed serial number. Find your mic's calibration file at minidsp.com (search the serial number) and download the .cal file.
In REW: Preferences → Mic/Meter → load the .cal file. The software now knows your microphone's individual response curve and can correct for it.
Set the audio output to the same playback chain you actually use. If you monitor through your interface to studio monitors, set REW's output device to that interface. If you monitor through your modeler's headphone output, set it there. The measurement has to flow through the same chain you'll be correcting.
Position the microphone at your normal listening position. For a desk-based setup, that's where your head is when you're playing, about 36 inches from each monitor at ear height. For headphones, you'll measure differently (we'll get to that).
You're ready to measure.
Running the Measurement (5 Minutes)
In REW: SPL Meter → click the green play icon → set your monitor volume to a moderate level (around 75-80 dB SPL is typical). Adjust until the SPL reading is steady at 75-80.
Switch to the Measure tab. Set the sweep range to 20 Hz - 20 kHz. Sweep length: medium (this trades off measurement time vs. signal-to-noise ratio). Click "Start Measuring."
REW will play a frequency sweep through your monitors that lasts about 15 seconds. You'll hear it as a tone moving from very low to very high. The microphone records the result. When the sweep finishes, REW automatically calculates the frequency response and displays it.
What you'll see: a curve that's mostly flat in the middle, with peaks and dips elsewhere. Common patterns:
- A peak around 80-150 Hz (room mode, especially in small rooms with parallel walls)
- A dip around 200-300 Hz (desk reflection or first-reflection point)
- A peak or dip around 2-4 kHz (speaker placement and angle)
- A roll-off above 10 kHz (distance from speakers, room dampening)
This is your room's signature. Every room has one.
Translating Measurements to Global EQ
Now the work. The measurement tells you what your room is doing; the global EQ should do the opposite.
| Room measurement | Global EQ correction |
|---|---|
| +4 dB peak at 100 Hz | -4 dB cut at 100 Hz with Q matching the peak's width |
| -3 dB dip at 250 Hz | +3 dB boost at 250 Hz (use cautiously; boosts can cause feedback) |
| +2 dB peak at 2.5 kHz | -2 dB cut at 2.5 kHz |
| -6 dB roll-off above 10 kHz | Subtle high-shelf boost above 10 kHz, +2-3 dB max |
The principle: cut peaks, treat dips with care. Cuts are almost always safe. Boosts can cause feedback and amplify noise that wasn't audible before. As a rule, never boost more than 3 dB at any frequency in a global EQ correction. Cuts can be larger.
Most modelers limit global EQ to 4-6 bands. Use them where the measurement shows the largest deviations from flat. A 4 dB peak at 100 Hz is more important to correct than a 1 dB peak at 5 kHz. Fix the big problems first.
Helix-Specific Setup
The Helix global EQ has four parametric bands plus a low cut and a high cut. To apply REW corrections:
- Press the menu button → Global Settings → Global EQ
- Enable Global EQ (this toggles the entire global EQ section on or off)
- Set the Low Cut to about 60 Hz (rolls off subsonic content; this is almost always a good idea)
- For each band:
- Set the frequency to match the REW measurement peak
- Set the gain to the inverse of the measurement (peak shows +4 dB → set band to -4 dB)
- Set the Q to about 1.4 for narrow peaks, 0.7 for wider deviations
- Set the High Cut at 18 kHz or higher to leave the air range intact unless your room shows severe high-end resonance
The Helix global EQ applies after the patch but before the output, so it corrects the entire signal regardless of which preset is loaded. Set it once for your studio environment and it stays in place.
Important: bypass the global EQ when playing through a different system (in-ear monitors, FOH at a venue, headphones if you measured for monitors). The Helix has a footswitch assignment for global EQ bypass; set it on a switch you can reach during a soundcheck.
Quad Cortex-Specific Setup
The Quad Cortex global EQ has 8 bands and is more flexible than the Helix. To apply REW corrections:
- Settings → Global EQ → Enable
- Choose a profile (Cortex supports multiple profiles; name them by playback environment, e.g., "Studio Monitors," "Headphones," "FOH")
- For each band:
- Set frequency to match measurement
- Set gain inverse of measurement
- Set Q to 1.0 default; tighten to 2.0 for narrow peaks; widen to 0.5 for shelf-like deviations
- Toggle the profile by environment (the Cortex's multiple profiles is what makes it more useful than the Helix here; switch profiles between rooms without re-dialing)
The Cortex profiles let you measure once for each playback environment and recall the appropriate correction. This is a major workflow improvement over the Helix's single global EQ.
Measuring Headphones (Different Workflow)
Measuring headphones with the UMIK-1 doesn't work the way measuring monitors does. You can't put the measurement mic at your listening position when "your listening position" is inside a headphone cup.
Two options for headphone correction:
Option 1: Trust published headphone frequency response curves. Sites like rtings.com and oratory1990.gitlab.io publish detailed frequency response measurements for popular headphone models. Find your headphones, identify the deviations from flat, and apply opposite corrections in your modeler's global EQ.
For my Sony MDR-7506: rtings shows a +3 dB peak around 8 kHz and a +2 dB peak around 200 Hz. I cut both in the global EQ profile labeled "Headphones."
Option 2: Use a software-based approach. REW supports headphone measurement workflows that use the headphones themselves as the measurement chain, but the procedure requires more equipment and is less reliable than the published-curves approach. Unless you're an audio engineer, skip this.
The headphones approach is less precise than the monitor measurement, but it's still better than ear-based guessing. Apply the corrections, listen, and trust that the correction is closer to neutral than no correction at all.
Three Things I Didn't Expect From the Measurement
Three things I didn't expect, when I first ran REW on my room.
I expected the bass response to be the biggest problem. It wasn't. The biggest deviation in my room was a +5 dB peak at 1.8 kHz, caused (I figured out later), by my desk acting as a reflector to my Yamaha HS8s. I'd been compensating for this peak unconsciously by cutting upper-mid presence on every patch. Once the global EQ fixed the room, my patch-level EQ got simpler.
I expected the headphones to need less correction than the monitors. The opposite was true. The MDR-7506 has a more colored frequency response than my treated monitor setup. Once I set up a separate headphone correction profile, my headphone tones improved more than my monitor tones did.
I expected the corrections to make my guitar sound flat or sterile. They didn't. Neutralizing the room's coloration meant the guitar's actual character came through more, not less. The "warmth" I thought I was hearing from my room was a 5 dB peak at 100 Hz. Removing it made the low end clearer; clearer doesn't mean colder.
When Not to Do This
REW measurement is overkill for some setups. Skip it if:
- You only play through one playback chain (one set of monitors, no headphones, no FOH) and your room sounds fine to you already
- You're playing in a venue every night (the room changes every show, and FOH does its own EQ)
- You're already happy with your tone and the only reason to measure is curiosity
The REW workflow earns its place when you're moving between multiple playback chains and tones aren't translating, or when you're building patches you intend to share with other players whose rooms you don't know.
For everyone else, the ear-based global EQ guide is enough.
Room measurement isn't necessary for good tone. It's necessary for consistent tone across multiple playback environments. If you've ever built a patch that sounded great at home and lost something at a friend's place, your room was doing more work than you realized. REW makes that work visible, and once it's visible, the global EQ becomes the precise tool it was designed to be.
For the conceptual frame, see our guide to modeler global EQ. For the broader signal chain implications, see the stereo signal chain architecture post.