The most useful thing a directional microphone does on a loud stage isn't hearing your amp. It's not hearing the drum kit six feet away. Every directional mic has a dead zone — an angle where it's least sensitive, called the null — and once you know where each pattern's null lives, you can turn the mic so that quiet angle points at whatever is bleeding into your sound. You stop thinking about aiming the front at the speaker and start thinking about aiming the back at the problem.
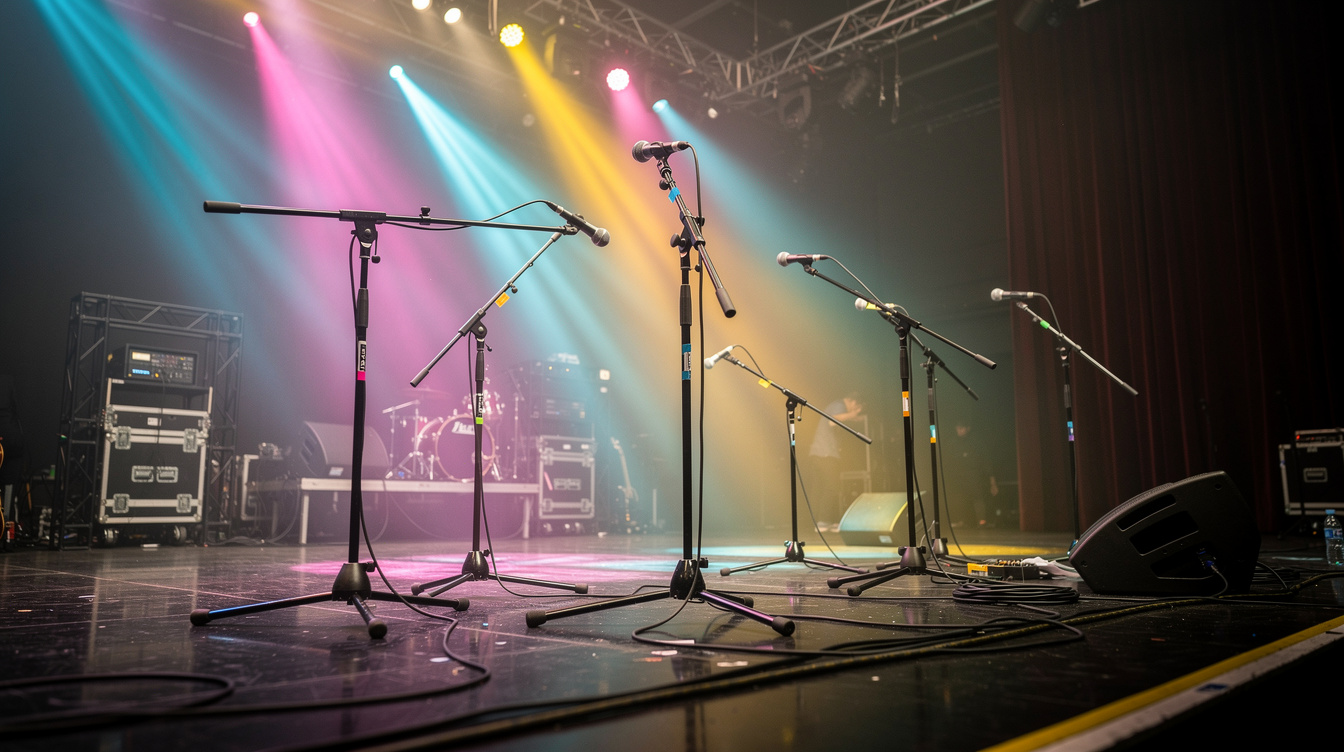
This matters most where the stage is loud and close: a band on a small platform, in-ears or wedges competing with an open drum kit, a guitar cab that has to be mic'd for the front-of-house mix without dragging half the kit along with it. The front of the mic gets the guitar. The null decides how much of everything else comes with it.
The Null by Pattern
Different polar patterns put their nulls in different places, and getting this wrong is the single most common mic-aiming mistake I see — people point the back of a mic at a source assuming that's the quiet spot, when for their pattern it isn't.
| Polar pattern | Where the null is | What to point it at | Watch out for |
|---|---|---|---|
| Cardioid (SM57, e57) | Directly behind, 180° | The one loudest source (snare, wedge) | Broad minimum — pick a single target |
| Supercardioid (Beta 57A) | ~125° off-axis, two side nulls | A specific bleed source off to the side | Rear lobe — the dead-back isn't dead |
| Hypercardioid (MD 421 in HC) | ~110° off-axis, two side nulls | A specific bleed source off to the side | Larger rear lobe than supercardioid |
| Figure-8 (ribbon: R-121, M160) | The two sides, 90° | A loud source to one side | Fully open behind the mic |
| Omni | No null | Nothing — it hears everything | Only useful in a quiet, controlled space |
The pattern most players already own is the cardioid, so start there. A cardioid has exactly one null, straight off the back. Point the rear of the capsule at the source you most need gone. On a worship stage or any small stage, that's usually the snare or the drummer's hi-hat, or a monitor wedge aimed up at the vocalist. You get one null, so you spend it on the single worst offender.
Aim It at One Thing, Not Everything
Here's what I got wrong for years, and what changed when I actually stopped and listened. I'd set a 57 on my AC30, swing the back of the mic toward the drum kit generally, and call it done. Then one Sunday I swept it slowly while the drummer played the snare, and the quietest point wasn't the whole-kit direction I'd been using — it was a few degrees off from that, with the null sitting on the snare specifically. Nudging maybe fifteen degrees dropped the snare bleed noticeably more than my eyeballed "point it at the drums" ever had.
The lesson: the null is a cone you aim at a source, not a wall you put between yourself and half the stage. You can't reject the whole kit with one cardioid null. You can reject the loudest single element of it, and that's usually enough to make the close mic sit right in the mix instead of arriving with a snare attached to every chord.
When the Back of the Mic Isn't the Answer
Supercardioid and hypercardioid mics tighten the front pickup — which is why people reach for them on loud stages — but they pay for it with a rear lobe. That's a zone of renewed sensitivity directly behind the capsule. So if you own a Beta 57A and you point its dead-back at the drums the way you would a plain 57, you may be aiming the lobe at them instead of the null.
The real nulls on those patterns sit off to the sides: roughly 125 degrees off-axis for a supercardioid, about 110 for a hypercardioid. In practice that means you rotate the mic so one of those side angles — not the straight-back — lands on the bleed source. It takes a moment of sweeping to find, and it's worth the moment. A supercardioid aimed correctly rejects a side source harder than a cardioid can; aimed like a cardioid, it can be worse.
The Figure-8 Trick
Ribbon mics are usually figure-8, which sounds like the wrong pattern for a loud stage — it hears equally from the front and the back. But the two sides of a figure-8 are its deepest nulls, at a clean 90 degrees, and they're deeper than any cardioid's. So the move is to face one lobe at the speaker and rotate the mic so a side null points at the loudest source in the room. The catch is what sits behind the cab, because the rear is wide open. Clear that space and a ribbon can reject a side source better than a dynamic will, with a smoother top end into the bargain. That specific technique — figure-8 nulls on a live stage — is worth its own read in the ribbon-mic-live guide, and if you're deciding which mic to reach for in the first place, the 57-vs-ribbon-vs-condenser breakdown sorts that out.
Set the Rejection First, Then Recover the Tone
There's a trade to be honest about. Rotating a mic to place its null changes the angle it's hitting the speaker at, and on-axis versus off-axis at the cone is a real tone difference — the center of the cone is brighter, the edge darker. So aiming the null can pull your tone one way or the other.
The order that works: set the rejection angle first, then walk the mic across the speaker face — center to edge — to find the tone you want at that angle. You're solving two problems, and they're both solvable in the same minute. This is the same balancing act you run when you blend a close mic with a room mic, except here the second variable is the stage instead of the room.
None of this requires new gear. It's a way of aiming what you already have so the mic serves the mix instead of fighting it — the front for the guitar, the null for the room. On a full stage, that quiet angle is the most valuable thing the mic gives you. Point it on purpose.