What Is an Effects Loop?
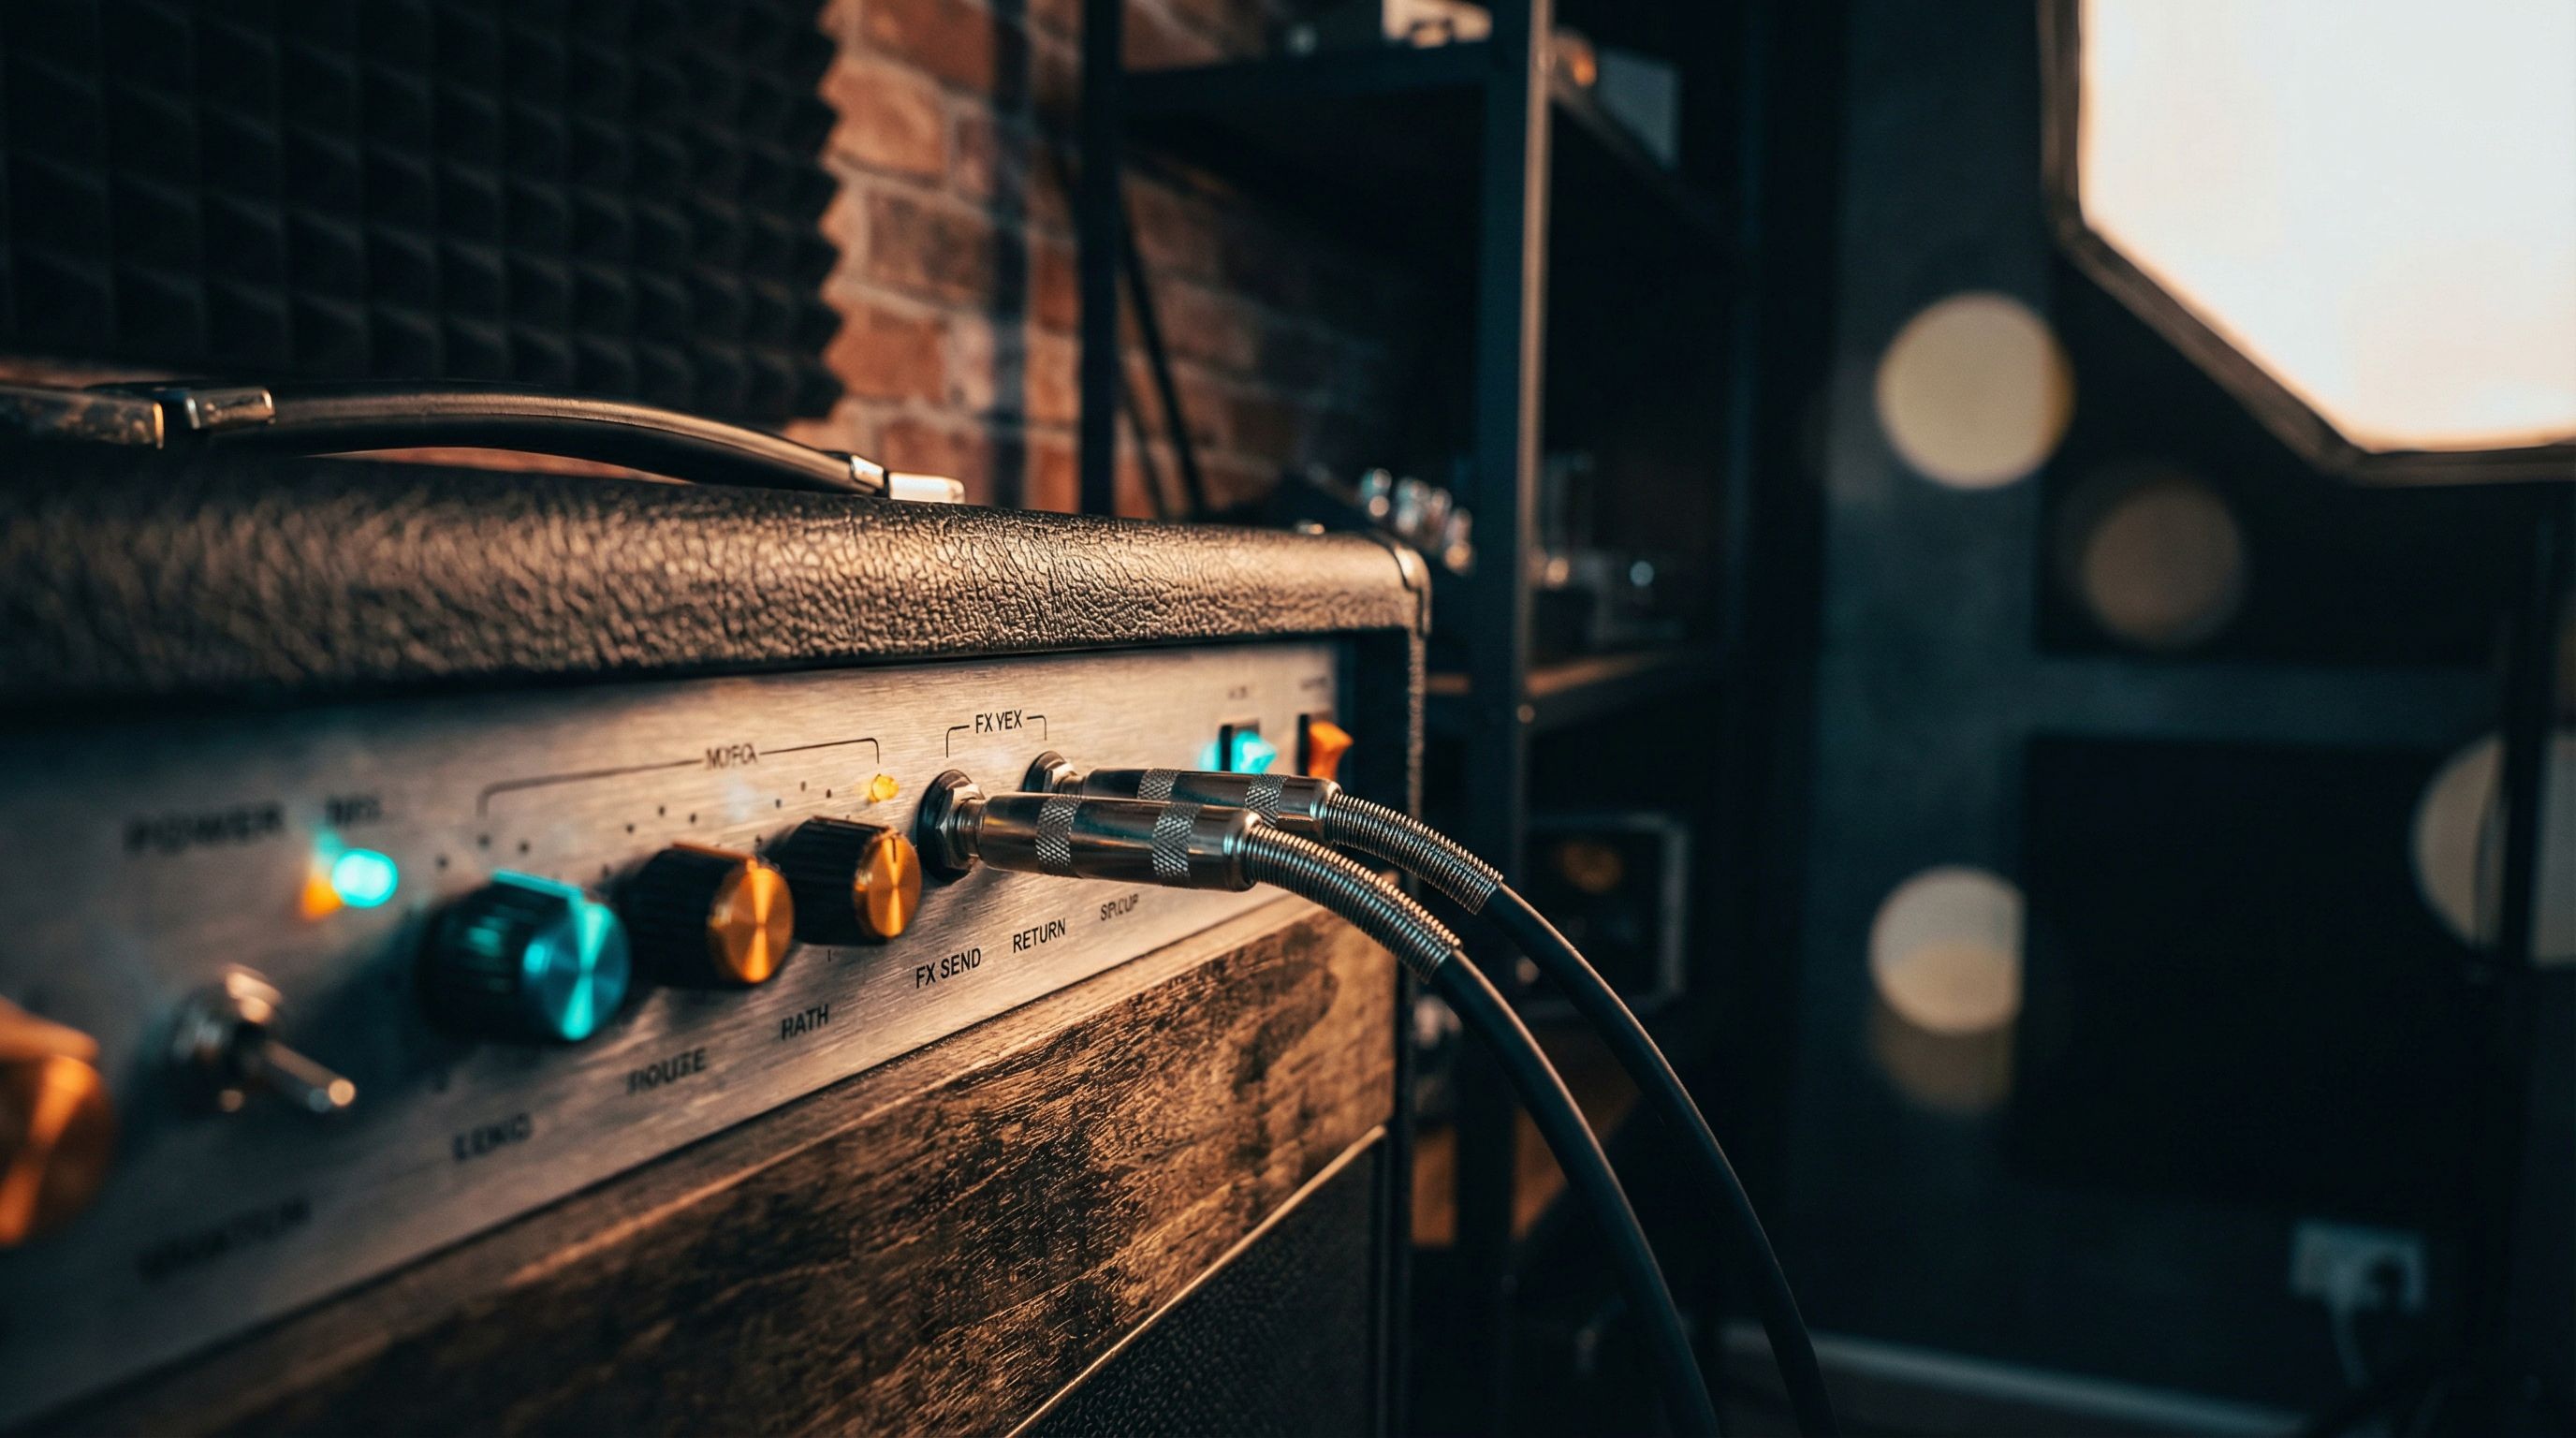
An effects loop is a pair of jacks on the back of your amp (typically labeled Send and Return) that expose the signal path between the preamp section and the power amp section. It's an insert point, nothing more.
But the reason that insert point exists, and what happens when you ignore it, is the part where it gets interesting. Routing it correctly is the difference between a muddy, undefined signal chain and one that actually behaves like a professional rig.
Why the Effects Loop Exists
Your amp has two main stages:
-
The Preamp. Signal shaping happens here. Gain, drive, EQ controls, and initial amplification all live in this stage. If your amp produces overdrive or distortion, the preamp is doing that work.
-
The Power Amp. This takes the shaped preamp output and amplifies it to a level that can drive speakers. On a clean channel, the power amp is essentially transparent. On a cranked amp, the power tubes introduce their own compression and saturation (that spongy, touch-sensitive feel you hear on a Fender Deluxe Reverb pushed past about 6 on the volume dial).
The signal path is: guitar in, preamp shapes the tone, power amp makes it loud. Now here's the problem.
If you place a delay pedal in front of a distorted amp, every delay repeat passes through the preamp's distortion stage along with your dry signal. The amp distorts the echoes. The result is a washy, undefined mess where the repeats smear into each other (something closer to Kevin Shields territory than the clean, separated echoes most players want). The same degradation happens with reverb, chorus, and most time-based and modulation effects.
Place that same delay after the preamp distortion but before the power amp, and the situation reverses. The delay is processing an already-distorted signal. The repeats are clean copies of your distorted tone, sitting clearly behind the dry signal like an Edge-style dotted-eighth delay: distinct, rhythmic, defined.
That's the entire reason effects loops exist. They let you place effects after the preamp's distortion stage, exactly where time-based processing belongs.
The Signal Flow
Without an effects loop: Guitar → Pedals → Preamp → Power Amp → Speaker
With an effects loop: Guitar → Front Pedals → Preamp → SEND → Loop Pedals → RETURN → Power Amp → Speaker
The Send jack outputs the preamp signal. The Return jack feeds back into the power amp. Whatever you patch between those two jacks gets inserted into the middle of your amp's signal path.
Preamp Out and Power Amp In: The Loop's Ancestor
Before the switchable series/parallel loop became standard, many amps — especially older and vintage ones — brought those same two points out to the back panel as two separate jacks, labeled Preamp Out (or Slave Out) and Power Amp In (or Main In). They're not a different feature; they're the seam between the preamp and the power amp handed to you as standalone jacks instead of a send/return insert. Preamp Out taps the same place the Send does; Power Amp In feeds the same place the Return does.
The one behavioral difference worth knowing: a dedicated Power Amp In jack almost always disconnects the internal preamp the instant you insert a plug (a normalled switching jack), which makes it the cleaner choice for replacing the preamp — slaving one amp into another, or driving the power section with a modeler. A series loop Return usually does the same; a parallel Return does not. For the full rundown of how those jacks differ from the loop and how to slave one amp into another, see Preamp Out / Power Amp In: the forgotten amp jacks.
Series vs Parallel Loops
Not all effects loops are designed the same way. There are two topologies, and they behave very differently. The summary below covers the essentials; for the full symptom-by-symptom breakdown — including how to identify which one your amp has — see series vs. parallel effects loops.
Series Effects Loop
In a series loop, 100% of your signal passes through the loop. The entire preamp output exits the Send jack, flows through your pedals, returns through the Return jack, and enters the power amp. Nothing bypasses the loop path.
How it works: The signal path is linear: one input, one output, no splitting. Every sample of audio travels through whatever you've patched into the loop.
Advantages:
- Simple to set up. Patch your pedals between Send and Return and you're done.
- Predictable behavior. The output of your pedals is exactly what reaches the power amp.
- Full signal control. You can even use the Return jack as a direct power amp input, completely bypassing the preamp.
Disadvantages:
- Any tone degradation or signal loss from your pedals affects 100% of your signal
- Pedals with poor bypass circuits will color your tone even when disengaged
- Volume matching becomes critical; if your pedal's output level doesn't match the loop's expected level, you'll get volume jumps or signal loss. This is the line-level vs. instrument-level question — a hot line-level loop overloads instrument pedals, and a cold pedal starves a line-level return.
Amps that use series loops: Most Marshall amps (JCM800, DSL series), many Fender amps, Orange amps, most high-gain amps.
Parallel Effects Loop
In a parallel loop, your signal splits into two paths. One path routes through the effects loop (the "wet" path), and the other bypasses the loop entirely (the "dry" path). Both paths recombine before reaching the power amp. Most parallel loops include a Mix or Blend knob that controls the wet/dry ratio.
How it works: The signal splits at the Send, with one leg passing through your pedals and the other remaining untouched. They merge at the Return stage, and the Mix knob sets the balance.
Advantages:
- Your dry tone is always preserved. Even if your effects pedal degrades the wet path, the dry path maintains your core signal integrity.
- Effective for blending subtle amounts of reverb, chorus, or delay without overwhelming the dry tone
- More forgiving of level mismatches; if your pedal's output runs slightly low, you compensate with the mix control
Disadvantages:
- Phase issues. If your pedal introduces even a few milliseconds of latency to the wet signal, it causes phase cancellation when summed with the dry path. This makes your tone sound thin or hollow in ways that are hard to diagnose.
- Wet signal math gets tricky. If you set your delay to 50% wet on the pedal, and the parallel loop is set to 50% mix, you're getting 25% delay in your final output. You need to set your pedals to 100% wet (kill dry) in a parallel loop and control the blend exclusively with the loop's Mix knob.
- More complex to dial in correctly
Amps that use parallel loops: Mesa Boogie (Dual Rectifier, Mark V), some Bogner amps, some Fender amps.
Which Is Better?
Neither. They solve different problems.
Series loops are simpler and work well when you're running quality pedals with clean bypass and proper level matching. Most players will be fine here.
Parallel loops are better when preserving the dry signal is a priority, or when you're blending in subtle wet effects. Just remember the critical rule: set your pedals to 100% wet when using a parallel loop, and let the loop's Mix knob do the blending.
Signal Levels: The Hidden Gotcha
Not all effects loops operate at the same signal level, and not all pedals expect the same input level. This trips up a significant number of players, and it's entirely avoidable once you understand it.
There are two standard signal levels in audio:
- Instrument level: The low-level signal from your guitar pickups that passes through your pedalboard. This is what your stompbox pedals are designed to receive.
- Line level: A significantly hotter signal used by rack gear, studio equipment, and some amp effects loops. Line level runs roughly 10-20 dB louder than instrument level.
Some amps have instrument-level effects loops. Your regular stompbox pedals work fine in these; patch them in and go.
Some amps have line-level effects loops. If you plug stompbox pedals into a line-level loop, the hotter signal can overdrive the pedal's input stage, causing unwanted distortion, compression, or tonal artifacts. The pedal may also not output enough signal to properly drive the Return, resulting in a volume drop when you engage the loop.
How to tell: Check your amp's manual. If the loop has a level switch (sometimes labeled -10dB/+4dB, or Instrument/Line), set it appropriately for your pedals. If there's no switch and you're experiencing volume drops or unexpected behavior, your loop is likely line-level and your stompbox pedals aren't impedance-matched for it.
The fix: Some amps include a Send Level knob that attenuates the send signal for stompbox compatibility. If your amp lacks this, a dedicated loop level converter (like the Radial BigShot EFX or the Suhr MiniMix) bridges the gap.
What Goes in the Loop (and What Doesn't)
In Front of the Amp (Before the Preamp)
- Overdrive, distortion, and fuzz pedals. These need to hit the preamp directly. They're either providing their own distortion or pushing the preamp into saturation. Placing a drive pedal in the loop defeats its purpose entirely.
- Wah pedals. Wah before distortion produces the classic, vocal-like sweep. Wah after distortion produces a more subtle, filtered quality. Most players prefer wah in front, but both positions are valid.
- Compressors. Compression before the preamp evens out your dynamics before the gain stage.
- Tuners. In front, typically first in the chain.
- Boost pedals. In front, to drive the preamp harder.
- Octave and pitch pedals. These track better with a clean, unprocessed signal, so they go in front.
In the Effects Loop (Between Preamp and Power Amp)
- Delay. This is the primary reason effects loops exist. Delay after distortion keeps your repeats clean and defined.
- Reverb. Same principle as delay. Reverb after distortion sounds like a natural room or hall. Reverb before distortion sounds like a washed-out mess.
- Chorus. Chorus after distortion gives you smooth, shimmering modulation. Before distortion, it can sound phasey and problematic (though some players deliberately use this for a more aggressive, Andy Summers-style character).
- Flanger and phaser. Debatable. Many players prefer flanger and phaser in front of the amp for a more dramatic, interactive effect. In the loop, they're smoother and more subtle. Experiment with both positions.
- Tremolo. Tremolo can go in either position. In the loop, it chops the fully formed tone. In front, it modulates before the preamp, creating a different character as the amp responds to the changing input level.
- Volume pedals. A volume pedal in the loop controls your overall volume without affecting your gain staging. Turn it down and your tone stays the same, just quieter. A volume pedal in front reduces the signal hitting the preamp, which on a distorted amp cleans up the tone as you roll back.
- EQ pedals. In the loop, an EQ pedal shapes your fully formed tone after the preamp. This is genuinely one of the most underrated tools for sculpting your sound for a specific room or mix without touching your amp settings.
- Noise gates. Can go in either position (or both). In the loop, a gate controls noise from the preamp. In front, it controls noise before it reaches the amp. Some players run a gate in both locations for the quietest possible rig.
The Golden Rule
If the effect creates or modifies your signal's fundamental distortion character, it goes in front.
If the effect processes your already-distorted tone with time, modulation, or ambience, it goes in the loop.
Common Effects Loop Problems (and How to Fix Them)
Volume Drop When Engaging the Loop
Cause: Level mismatch between your amp's send level and your pedal's input/output level. This is the most common effects loop problem by a wide margin.
Fix: Check if your amp has a send level control and adjust it. If not, try a pedal with an output level control and boost it. A dedicated loop level converter is the last resort.
Noise and Hiss in the Loop
Cause: Long cable runs in the loop, noisy pedals, or a loop that's amplifying the noise floor.
Fix: Use the shortest cables possible in the loop. Use quality pedals with low noise floors. If you're running multiple pedals in the loop, consider a small pedalboard with a dedicated isolated power supply. Daisy-chained wall warts are a common noise source.
Tone Suck When Pedals Are Bypassed
Cause: True bypass pedals in a series loop can cause impedance mismatches. Buffered pedals can color your tone. Long cable runs through multiple bypassed pedals degrade the signal.
Fix: Use a loop bypass switch (a simple A/B switcher) to completely remove the loop pedals from the circuit when not in use. Some amps have a built-in loop bypass switch for exactly this reason.
Oscillation or Squealing
Cause: The effects loop is feeding back on itself, usually because a pedal in the loop is boosting the signal beyond what the loop can handle.
Fix: Reduce the output level of pedals in the loop. Check that send and return cables aren't running right next to each other (especially near the amp's transformer, which radiates electromagnetic interference).
Phase Issues in Parallel Loops
Cause: The wet signal is slightly delayed compared to the dry signal, causing phase cancellation when they're summed.
Fix: If your amp's parallel loop has a phase switch, try flipping it. If not, you may need to accept a slight tonal change or switch to running the loop in series (if the amp allows it).
Effects Loops on Modelers
Digital modelers handle the effects loop concept differently, and in several ways, they make it more powerful than a traditional amp loop.
Line 6 Helix
Helix has dedicated FX Loop blocks (Send/Return blocks that you can place anywhere in your signal chain). You get up to four mono loops (or two stereo loops) on the Helix Floor.
The advantage is routing flexibility. Want your real Tube Screamer in front of the virtual amp model? Place the FX Loop block before the amp block. Want your real Strymon Timeline in the virtual effects loop position? Place the FX Loop block after the amp block but before the cab/IR block.
You can also use the FX Loop blocks for the 4-cable method (more on this below), for re-amping, or for integrating external gear into your Helix signal chain. The loops are switchable between instrument and line level, which solves the level mismatch problem that plagues many traditional amp loops.
Neural DSP Quad Cortex
The Quad Cortex has two stereo effects loops (Send/Return 1-2 and 3-4) that function as blocks in the signal chain grid. Like Helix, you can place them anywhere in the routing.
The QC also lets you use the Send outputs independently. For example, you can send a signal to an external amp while simultaneously running a parallel modeled path. The routing flexibility on the QC is extensive.
Boss Katana
The Katana series has an effects loop on the back panel that works like a traditional amp effects loop. Plug your pedals between Send and Return, and they sit between the Katana's preamp modeling and its power amp.
The Katana's loop is instrument-level and works well with stompbox pedals. Straightforward and functional.
The 4-Cable Method: The Ultimate Routing Trick
The 4-cable method is the logical extension of the effects loop concept, and it's how many players integrate a multi-effects unit with a real tube amp.
What It Is
The 4-cable method uses four cables to connect a multi-effects unit (like a Helix, QC, or HX Effects) to an amp that has an effects loop:
- Guitar → Multi-FX Input. Your guitar goes into the multi-effects unit, not the amp.
- Multi-FX Send → Amp Input. The multi-effects unit sends the signal (with pre-amp effects like drives and wah) to the amp's front input.
- Amp Send → Multi-FX Return. The amp's effects loop send goes back into the multi-effects unit.
- Multi-FX Output → Amp Return. The multi-effects unit sends the processed signal (with post-amp effects like delay and reverb) back into the amp's effects loop return.
What It Gives You
With this setup, your multi-effects unit controls the entire signal chain:
- Before the amp: Your digital wah, compressor, overdrive, and other front-of-amp effects process the signal before it hits the amp's preamp, exactly as if they were stompbox pedals in front of the amp.
- The amp itself: Your real tube amp provides its preamp distortion and character (the thing it does best).
- After the preamp: Your digital delay, reverb, chorus, and other post-amp effects process the signal in the amp's effects loop. They stay clean, defined, and sitting behind the amp's distortion.
You get the best of both architectures: the feel and responsiveness of your real tube amp, plus the flexibility and routing power of your digital multi-effects unit.
When You Don't Need It
The 4-cable method is powerful but adds complexity and potential noise sources. You don't need it if:
- You run a clean amp and get all your distortion from pedals. Just run everything in front.
- You use a modeler for everything including amp simulation. You don't need a real amp loop.
- Your amp doesn't have an effects loop (many vintage amps don't)
- The added cable runs and connections create noise issues in your particular setup
When You Don't Need an Effects Loop At All
Not everyone needs an effects loop. Here's when you can skip it entirely:
- You play clean. If your amp is always clean, there's no preamp distortion to route around. Delay and reverb sound fine in front of a clean amp.
- You get all your distortion from pedals. If your amp is set clean and your overdrive/distortion comes from pedals, you can put your delay and reverb after your drive pedals but before your clean amp. Same principle as the effects loop, accomplished through pedal order instead.
- You use a modeler for everything. If your Helix or QC is handling amp simulation, effects, and cab simulation, the entire signal chain is digital. There's no physical preamp to insert after. The modeler's signal chain editor is your effects loop.
- You like the sound of delay into distortion. Some players (especially in shoegaze and ambient genres) deliberately run delay and reverb into heavy distortion for that washy, textured, wall-of-sound quality. No rule against it.
I expected the EQ-in-the-loop trick to be a marginal improvement when I first tried it (a minor tonal nudge at best). What I actually found was that a simple 6-band EQ after the preamp gave me more control over my live sound than swapping speakers did. It's the single most underrated use of an effects loop.
The Bottom Line
- The effects loop is a routing tool that solves one specific problem: placing time-based effects after your amp's distortion stage.
- Series loops are simpler and work for most players. Parallel loops preserve your dry signal but introduce phase and wet-mix math considerations.
- Signal level mismatches between your loop and your pedals cause most effects loop problems. Check your levels first.
- Drives, wahs, and compressors go in front. Delay, reverb, and modulation go in the loop. EQ in the loop is an underrated secret weapon.
- The 4-cable method gives you complete routing control when integrating a multi-effects unit with a real amp.
For a broader look at where every effect type belongs in your signal path, see our complete guide to signal chain order.
What to try next: If you've never used your amp's effects loop, start with one delay pedal. Run it in front of a distorted amp, then move it to the loop. The difference in clarity will tell you everything you need to know about whether the loop matters for your rig.