Why Does Signal Chain Order Matter?
The order your effects are in completely changes your tone. Not a little bit. A lot.
Every effect in your chain takes whatever signal comes into it, processes that signal, and passes the result to the next effect. A delay pedal does not know whether it is receiving a clean guitar signal or a heavily distorted one; it just repeats whatever arrives at its input. Put delay before your distortion and the delay repeats get distorted. Put delay after your distortion and the repeats stay clean and defined.
Neither is objectively wrong. But they sound dramatically different. Understanding why they sound different is the key to building tones that actually work.
This guide covers the standard signal chain order that most professional guitarists use, the reasoning behind each position, the most common rule-breaking moves, and how all of this translates to modelers like the Line 6 Helix and Quad Cortex.
The Standard Signal Chain Order
If you remember nothing else from this article, remember this sequence:
Guitar --> Tuner --> Wah/Filter --> Compressor --> Overdrive/Distortion --> Amp --> Modulation --> Delay --> Reverb --> Speaker/Cab
That is the backbone. Every professional pedalboard you have seen in a magazine rig rundown is some variation of this.
Position 1: Tuner
Your tuner goes first. Always. No debate. A tuner needs the cleanest, most unprocessed signal possible to track pitch accurately.
Run your signal through a chorus and then into a tuner, and the pitch modulation confuses the tracking. Run through a distortion first, and the added harmonics make the tuner jump around. Put the tuner first. Get a clean read. Move on.
Most tuner pedals also function as a mute switch, handy for silent tuning between songs. On a modeler, your tuner is usually a global function rather than a block in the chain, but the principle is the same. It reads the raw input signal.
Position 2: Wah and Filter Effects
Wah pedals and envelope filters sit near the front of the chain, right after the tuner. They are frequency-selective, and they respond best to the natural dynamics of your pick attack.
A wah pedal is essentially a bandpass filter that you sweep with your foot. When it receives your raw guitar signal, it can clearly articulate each frequency as you rock the pedal. The sound is expressive and vocal (the throaty cry you hear on Hendrix's "Voodoo Child (Slight Return)").
Put a compressor before the wah and it loses that vocal expressiveness and sounds flatter and less responsive. Put a heavy distortion before it, and the wah turns into a thin, nasal, ice-pick sound because it is trying to filter an already harmonically complex signal.
Envelope filters follow the same logic. They trigger based on your pick attack strength, so they need to feel the raw dynamics of your playing. Compress that signal first and the envelope filter barely opens because everything hits it at the same level.
The Exception: Fuzz Before Wah
Here is your first rule-breaking moment. Many players (Hendrix being the most famous) put fuzz before the wah. Creates a completely different texture. Thicker. More synthy. Almost like a talkbox.
The reason this works with fuzz specifically (and not so much with overdrive or distortion) is that vintage fuzz circuits interact with your guitar's volume knob and impedance in unique ways. Fuzz pedals often want to see the guitar's signal directly. Putting a buffered pedal like most wahs before a fuzz changes the fuzz's character entirely, making it thinner and buzzier rather than fat and explosive.
So the classic Hendrix chain is: Guitar --> Fuzz --> Wah --> everything else. Try both orders and decide with your ears.
Position 3: Compressor
The compressor sits after the wah but before any gain stages. Its job is to even out your dynamics, making quiet notes louder and loud notes quieter. An invisible hand that keeps your playing more consistent.
Why here. Because you want the compressor working on your clean tone. Compress after distortion and you are squashing an already-compressed signal (distortion inherently compresses), which sounds lifeless and pumpy. Compressing before drive gives you a tighter, more even signal going into the dirt. Your drive sounds more consistent and sustained.
Country players love heavy compression before a clean amp for that squishy, chicken-pickin' attack. Blues players often use mild compression to add sustain without killing dynamics. Funk players use compression to make single-note lines pop out of a mix.
On modelers, the compressor block usually has a few model options. The LA-2A style (optical compressor) is smooth and musical. The 1176 style is faster and punchier. The Ross/Dyna Comp style is classic for that country squish. Experiment, but keep it early in the chain.
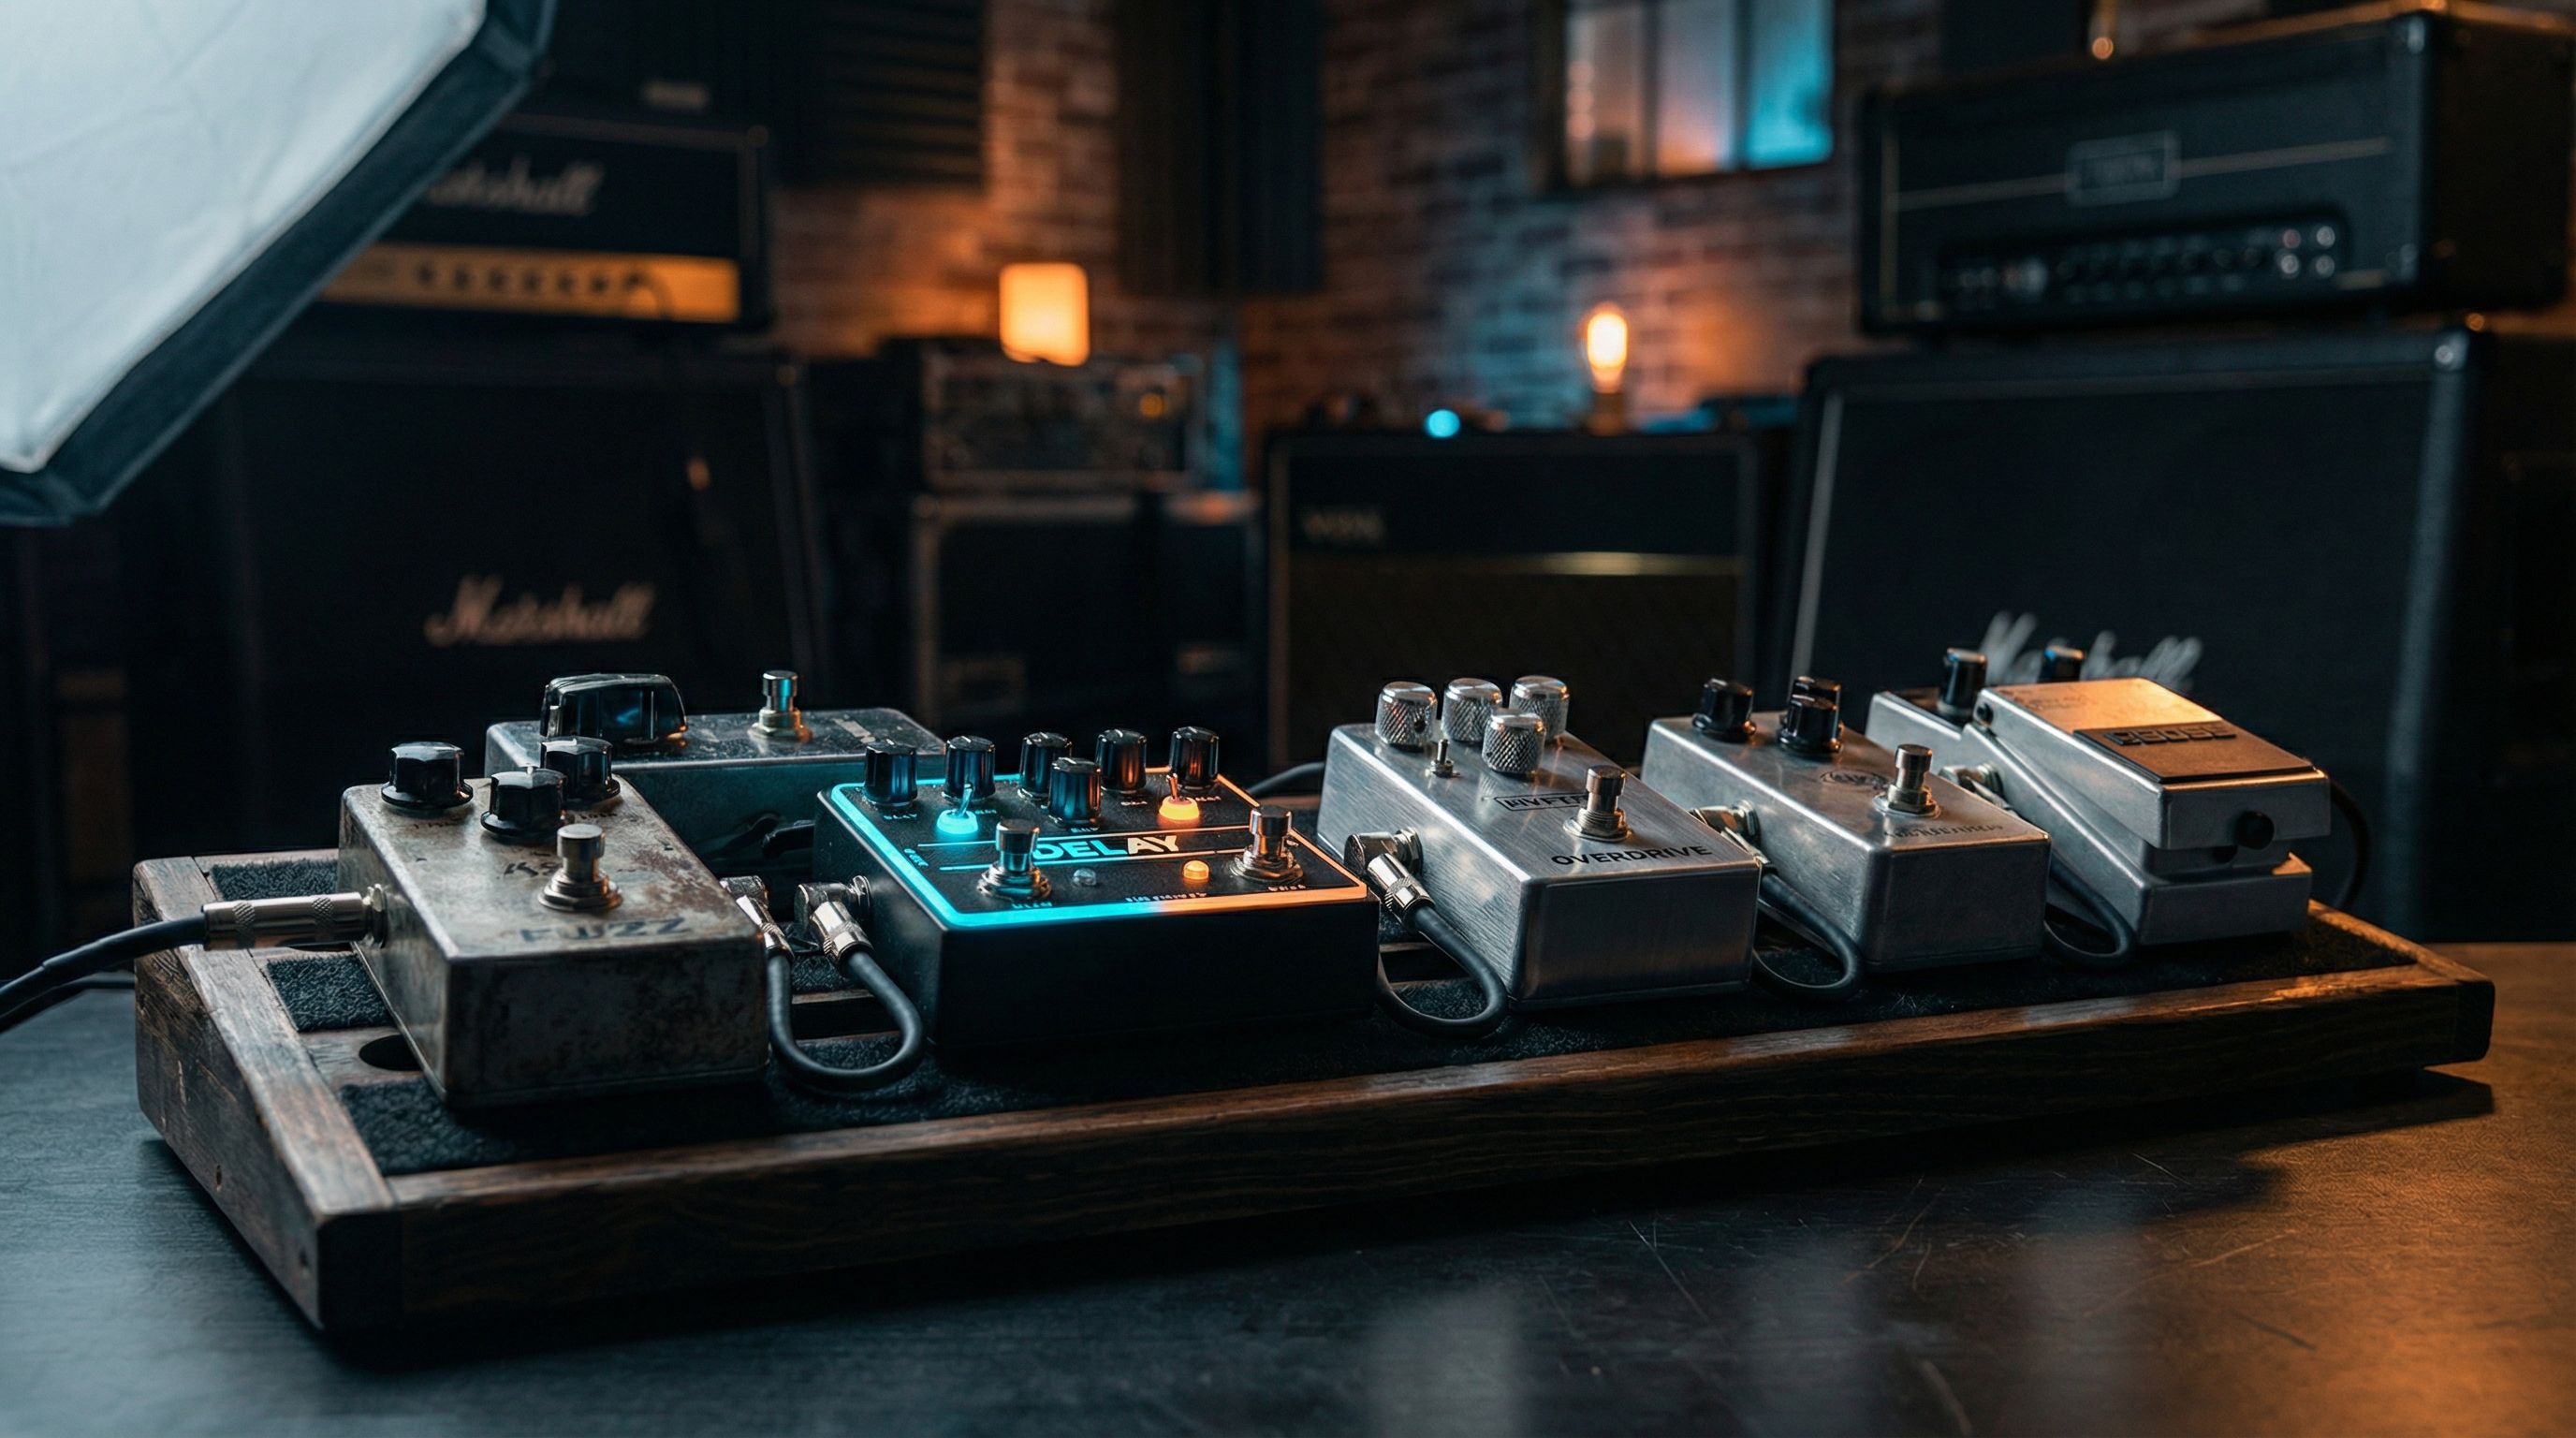
Position 4: Overdrive, Distortion, and Fuzz
Your gain pedals (overdrive, distortion, or fuzz) sit after the compressor and before the amp. The heart of your tone for any style involving crunch, grit, or all-out saturation.
The order within this section matters too if you are stacking drives. The general rule: lower gain before higher gain. Running a Tube Screamer and a Big Muff, the Tube Screamer goes first. A mild overdrive pushing into a heavier gain stage adds sustain and tightens the low end without making things muddy. Flip that order and the heavy fuzz hits the overdrive in a way that usually sounds mushy and undefined.
A common stacking approach (our overdrive vs distortion vs fuzz guide explains each gain type in depth):
- Clean boost --> pushes whatever comes after it harder
- Light overdrive (Tube Screamer, Klon) --> adds mild grit and midrange push
- Heavier distortion (RAT, DS-1) --> more saturated gain
- Fuzz (Big Muff, Fuzz Face) --> maximum saturation
You do not need all of these. Most players have two or three gain options. But when you stack, keep it lower-to-higher.
Boost Placement: Before vs After Drive
A clean boost before a drive pedal pushes the drive harder, increasing saturation. A clean boost after a drive pedal increases volume without adding more gain. Both are useful:
- Boost before drive = more saturation for solos
- Boost after drive = volume jump for solos without changing your dirt character
Many players use both: a Tube Screamer before their amp's drive channel for tightness, and a clean boost in the loop for solo volume. On a modeler, you can easily set up both with snapshots or footswitch assignments.
Position 5: The Amp (and the Effects Loop)
Your amp sits in the middle of the chain. On a real amp, the effects loop is an insert point between the preamp (where your tone and distortion are shaped) and the power amp, which amplifies the signal to speaker-shaking levels. When you plug effects into the loop, they process the signal after the amp's distortion but before the final amplification.
Why does this matter. Modulation, delay, and reverb all sound dramatically better when they process an already-distorted signal rather than being distorted themselves.
Think about reverb before distortion. The reverb tails get crunched and distorted into a washy, indistinct mess that sounds like playing inside a garbage disposal. But reverb after distortion stays clean and spacious, with each reflection clearly defined against the distorted tone.
On a modeler, this translates to where you place blocks relative to the amp block. Effects before the amp block act like pedals in front of the amp. Effects after the amp block act like they are in the effects loop. The amp block is your dividing line.
Position 6: Modulation (Chorus, Flanger, Phaser, Tremolo)
Modulation effects go after the amp's preamp section, in the effects loop on a real rig, or after the amp block on a modeler.
Chorus adds a slightly detuned copy of your signal to create thickness and shimmer. After distortion, it sounds lush and defined (the liquid shimmer on Andy Summers' clean tones with the Police). Before distortion, it can sound wobbly and seasick.
Flanger sweeps a comb filter through your signal. After gain, you get that classic jet-plane whoosh. Before gain, it can interact with the distortion in unpredictable (and usually unpleasant) ways.
Phaser is the one modulation effect that actually sounds great both before and after drive. Before drive, you get a chewy, vocal quality (Eddie Van Halen's Phase 90 in front of a cranked Marshall on "Eruption"). After drive, it is smoother and more subtle. Genuinely a matter of taste.
Tremolo chops your volume rhythmically. Almost always goes after drive because you want the volume changes applied to your full tone, not having the volume dips get smoothed out by compression or distortion later in the chain.
Position 7: Delay
Delay goes after modulation and after the amp's distortion. The reason is clarity: you want each repeat to be a clean copy of your fully-shaped tone.
If delay comes before distortion, each repeat gets progressively more distorted and compressed as it fades. Mushy. Indistinct. After distortion, each repeat fades naturally and you can hear the rhythmic pattern clearly.
I expected tape delay to be the obvious blues choice here. What I found was that a good digital delay set to about 350ms with the mix around 9 o'clock does something tape cannot: it keeps the repeats completely out of the way of your dry tone while still filling the space between phrases. Tape adds character. Digital adds air. Different jobs.
On modelers, you have access to a wide variety of delay types:
- Digital delay for pristine, exact repeats
- Tape delay for warm, slightly degraded repeats that darken as they fade
- Analog delay for that dark, lo-fi character
- Reverse delay for ambient soundscapes
- Multi-tap delay for rhythmic patterns
Regardless of the type, they all benefit from sitting late in the chain, after your gain and modulation stages.
The Exception: Delay Before Dirt
Some players intentionally put delay before their drive for a specific effect. The Edge from U2 is the most famous example. His dotted-eighth delay runs into the front of a slightly dirty amp, and the repeats blend with the crunch in a way that creates his signature rhythmic shimmer. It works because the gain is relatively low, so the repeats do not turn into mud.
Running high-gain tones with delay before dirt usually sounds terrible. But for edge-of-breakup tones with rhythmic delay patterns, it is worth experimenting with.
Position 8: Reverb
Reverb is the last effect before your signal hits the speaker or output. It simulates acoustic space (rooms, halls, plates, springs) and it needs to wrap around your entire processed tone to sound natural.
Think about how reverb works in real life. You play a note. The sound bounces off walls and surfaces, creating a diffuse tail. That tail contains the full character of the original sound. Put reverb early in the chain and then distort it. The reverb tail gets crunched and sounds artificial and harsh.
Reverb at the end of the chain means the reverberant reflections contain your complete tone (drive, modulation, delay, everything), just like a cranked amp in a good room, where the walls give you back what you put in.
Common reverb types and their sweet spots:
- Spring reverb: splashy, surfy. Classic for clean and light crunch tones. Many amp models include built-in spring reverb, modeled from the amp's onboard reverb tank.
- Plate reverb: dense, smooth. Great for leads. Sits behind a driven tone the way fog sits behind a streetlight, present but not competing.
- Hall reverb: spacious and ambient. Perfect for atmospheric pads and post-rock soundscapes.
- Room reverb: subtle and natural. Great for making direct-recorded tones sound like a physical space.
On modelers, you will often want to run reverb in stereo if you are using a stereo output. A mono signal through a stereo reverb instantly adds width and depth that makes your patches sound huge through headphones or a PA.
The Amp's Built-In Effects
Many real amps have built-in reverb (usually spring) and sometimes tremolo. These effects are hardwired into the amp's circuit after the preamp, which is exactly where they belong. If you are using an amp model on your modeler, the built-in reverb of that amp model is separate from any reverb block you add. You can use both, but be careful about stacking too much reverb.
How This Applies to Modelers
If you are on a Helix, Quad Cortex, Fractal, Kemper, or any other modeler, the signal chain concept is exactly the same. You just have more flexibility.
Line 6 Helix
The Helix gives you a linear signal path (or two parallel paths on Helix Floor/LT). Think of each block as a pedal on a board:
- Input block (this is your guitar input)
- Volume/Wah block (assign to expression pedal)
- Compressor block
- Drive block(s)
- Amp+Cab block (or separate Amp and Cab blocks)
- Modulation block(s)
- Delay block(s)
- Reverb block(s)
- Output block
The key insight on Helix: everything before the Amp block is "in front of the amp" and everything after is "in the effects loop." Handled automatically. You do not need to set up a physical effects loop.
You can also use parallel paths to run effects in parallel rather than series. A common trick is splitting your signal, running a delay on one path and keeping the other dry, then merging them back together. Preserves your dry attack while adding ambient repeats.
Quad Cortex
The Quad Cortex uses a grid-based routing system with four rows. Same principles apply, but you have even more routing flexibility:
- Row 1: Input effects (wah, compressor, drives)
- Row 2: Amp and cab
- Row 3: Modulation and time-based effects
- Row 4: Additional processing or parallel effects
The QC also lets you use captures (profiled real amps and pedals) alongside modeled blocks. A captured Tube Screamer into a captured Fender Deluxe follows the same signal chain logic. The capture just sounds like the real thing rather than a model of it.
Fractal Audio (Axe-FX, FM3, FM9)
Fractal uses a grid-based routing system similar to the Quad Cortex. The signal flow is visual; you connect blocks with virtual cables on a grid. Same ordering principles. Gain stages before the amp model. Time-based effects after.
Fractal's "X/Y" switching lets you have two versions of any block. Powerful for switching between different drive settings or reverb types within a single preset without changing the signal chain order.
Common Rule-Breaking Chains
Now that you know the standard order, here are the most famous exceptions and why players use them. Rules are worth knowing so you can break them on purpose.
Fuzz --> Wah (The Hendrix Chain)
Vintage fuzz circuits often want to see the guitar's pickups directly. Putting a wah (which is a buffered circuit) before a fuzz can thin out the fuzz and kill its low-end grunt. Hendrix ran fuzz first, wah second.
When to try it: Any time you are using a fuzz-style effect and want a thick, synthy wah tone rather than a traditional crying wah sound.
Delay --> Dirt (The Edge Chain)
Running delay into a slightly overdriven amp creates rhythmic patterns where the repeats blend with the crunch. The repeats are not pristine; they get a little dirty, and this creates a cohesive, musical texture.
When to try it: Low-to-medium gain settings with rhythmic delay patterns, especially dotted eighths. Does not work well with high gain.
Reverb --> Dirt (Shoegaze/Ambient)
Shoegaze guitarists like Kevin Shields run reverb into fuzz or heavy distortion. The reverb tails get crushed and saturated, creating a wall of washy, dreamy noise that is indistinct by design.
When to try it: Ambient, shoegaze, or post-rock tones where you want a wall of sound rather than note clarity.
Modulation Before Dirt (Phaser, Vibrato)
A phaser before distortion creates a chewy, vocal quality that differs from a phaser after distortion. Eddie Van Halen's Phase 90 sat before his Marshall. That interaction between the phased signal and the amp's breakup is a huge part of his tone.
Vibrato (not to be confused with chorus) before dirt can create interesting pitch-wobble effects that get saturated by the amp.
When to try it: Classic rock phaser tones, or experimental pitch effects.
Building Your Chain: A Practical Approach
A step-by-step process for building a signal chain from scratch, whether on a pedalboard or a modeler:
-
Start with the amp tone. Get your amp or amp model sounding good on its own with no effects. Dial in the clean tone or crunch tone you want as your foundation. This is the most important step. Everything else builds on it.
-
Add your primary drive. Whether that is an overdrive, distortion, or the amp's own gain, get your dirt tone dialed in next. This is the core of your sound.
-
Add the wah and compressor if you use them. Set the compressor so it is subtle; you should barely notice it is on, but you miss it when it is off.
-
Add modulation. Start with modulation after the amp/drive and adjust to taste. If you are going for a Van Halen thing, try it before the drive too.
-
Add delay. Set your tempo, choose your delay type, and blend it in. Start with the mix low (around 9 o'clock) and increase until the repeats are audible but not overwhelming.
-
Add reverb last. Like delay, start with the mix low. A little reverb goes a long way, especially on high-gain tones.
-
Fine-tune and A/B test. Play your full range of tones (clean, crunch, lead) and make sure the chain works for all of them. Adjust effect levels as needed.
Final Thoughts
The standard order exists because it works for the vast majority of situations. But once you understand the reasoning behind each position, you can break the rules on purpose and get sounds that a by-the-book chain cannot produce.
Start with the standard order. Get comfortable with it. Then experiment. Move one effect at a time, listen to the difference, and decide whether you prefer it. That is how you develop your own ear and your own voice on the instrument.