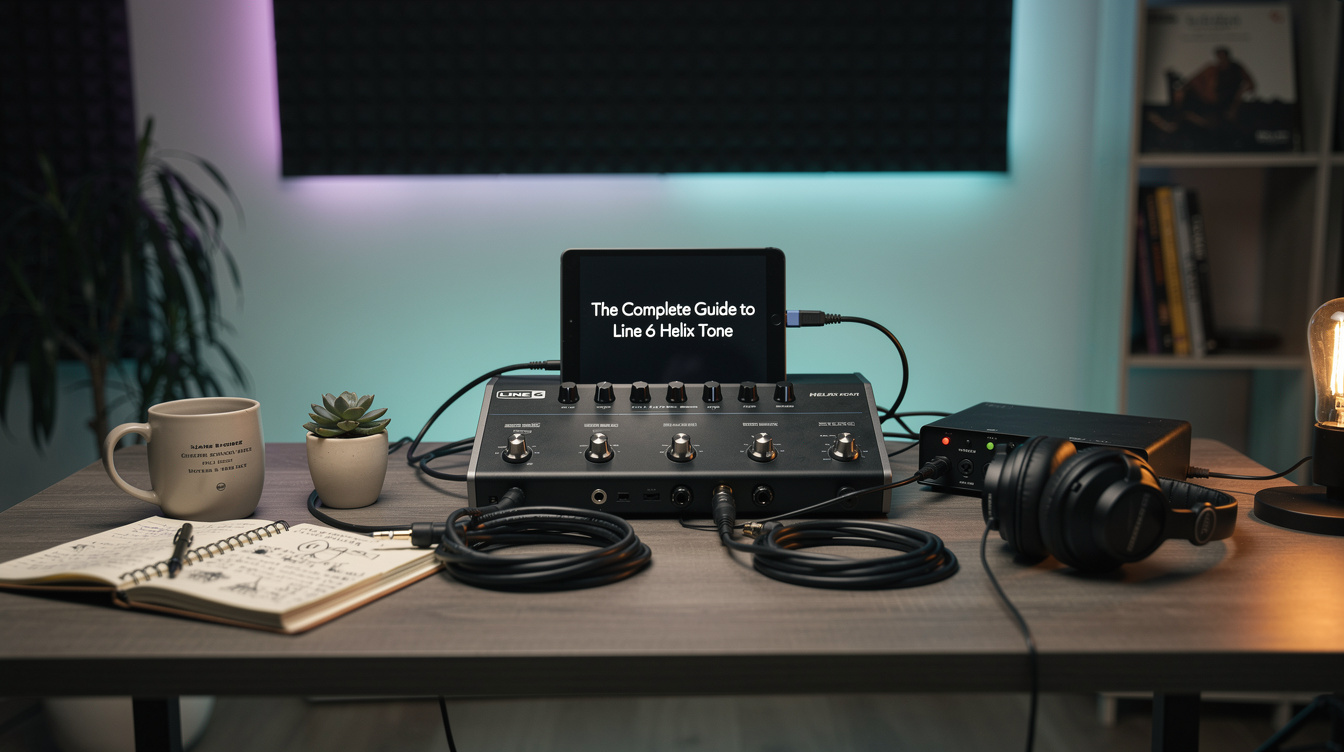
Start here: Most Helix tone complaints are not caused by the amp model. They are caused by four settings that live outside the preset (output level, Global EQ, input impedance, and where the signal is going) plus one setting inside it (the cab block's high cut). Fix those five and the amp model becomes a preference rather than a problem. Everything below is the order I would fix them in.
The most common thing I hear about Helix is that it sounds thin, or fizzy, or "digital," and that the person has tried every amp model and none of them fixed it.
That is a useful piece of information, because it is diagnostic. If swapping amp models did not fix it, the problem is not the amp model. Something upstream or downstream of the amp block is broken, and no amount of model-shopping will route around it.
Here is the whole system, in the order that actually matters.
The Five Settings That Fix Most Bad Helix Tone
| # | Setting | Where it lives | Why it breaks tone |
|---|---|---|---|
| 1 | Output level / mode | Global Settings | Mismatched level into the next device clips or starves it |
| 2 | Cab block high cut | Inside the preset | Unfiltered top end above 8 kHz reads as fizz |
| 3 | Global EQ | Global Settings | Left on from another venue, it colors every preset |
| 4 | Input impedance | Global Settings | Wrong value changes how fuzz and wah interact with the guitar |
| 5 | Drive vs Master balance | Inside the preset | Both cranked equals squashed, lifeless response |
Four of those five are not in your preset. That is the part most guides skip, and it is why preset-shopping so rarely fixes anything.
Step 1: Global Settings, Before Anything Else
Global Settings sit outside every preset. They apply to all of them. If they are wrong, every patch you build will be built to compensate for them, and every patch you download from someone else will sound wrong on your unit for reasons that have nothing to do with the patch.
Output level. Helix Floor and LT have a physical line/instrument switch for the 1/4" outputs. Set it to match what you are plugged into — line level for a powered speaker, an interface, or a mixer; instrument level for the front of a real guitar amp. Getting this backwards is the single most common cause of "my Helix is quiet and lifeless" or "my Helix is clipping and harsh," and neither symptom points at the switch, which is why it survives so long.
Global EQ. It can be applied to the 1/4" outputs, the XLR outputs, or both. Two rules. First, it is for correcting a room or a PA, not for shaping your tone. Second, turn it off before you decide a preset sounds bad, because a Global EQ left over from a boomy stage last weekend will follow you into every patch you audition.
Input impedance. Auto works for most things. It matters specifically when the first block is a fuzz or a wah, because those circuits interact with what they see in front of them — a fuzz into a low impedance loses its cleanup behavior off the guitar volume knob. If your fuzz model feels stiff and will not clean up, this is the setting to try before you replace the model.
Step 2: Decide Where the Signal Is Going
This decision determines whether your preset should contain a cab block at all, and getting it wrong stacks two speaker voicings on top of each other.
| Destination | Cab / IR block? | Notes |
|---|---|---|
| Full-range powered speaker (FRFR) | Yes | The speaker is neutral; the cab block is your speaker |
| Direct to front of house or an interface | Yes | Same reason. This is the standard recording path. |
| Guitar power amp into a real cab | No | The physical cab is doing that job already |
| Front of a combo amp's input | No | And consider a preamp-only amp block |
| Headphones | Yes | Plus expect to want a slightly different high cut than FRFR |
The fourth row is worth a sentence. Running a full amp-plus-cab preset into the front of a real amp means your modeled power amp and cab are feeding a real preamp, power amp, and cab. It can be made to work, but you are fighting the signal chain rather than using it.
Step 3: The Cab Block Is Doing More Work Than the Amp Block
This is the part I got wrong for a long time, so it gets its own section.
I assumed the amp model was the load-bearing choice and the cab was a finishing touch. The reasonable test is to hold one constant and vary the other. Build two presets on the same amp model with different cab, mic, and high-cut settings, then two presets on different amp models with an identical cab block.
The same-amp pair sounds more different than the different-amp pair. Not marginally. It reframes the entire "which amp model should I use" question that most people arrive with, because the answer is that the amp model is the smaller of the two decisions.
The mechanism is not mysterious. The amp block shapes gain structure and broad EQ. The cab block decides the entire top octave, the proximity bass, and the specific resonances of a speaker in a room — which is most of what your ear uses to identify a guitar sound as real.
Four cab parameters, in order of how much they move the sound:
- High cut. The single biggest control on the unit. Start at 8 kHz and come down. Somewhere between 6 and 8 kHz the pick attack stops sounding like static and starts sounding like a pick. A real microphone in a real room never captured that content, which is why leaving it in reads as artificial.
- Mic choice. A 57-style dynamic is the default for a reason. A ribbon is darker and rolls off on its own. A condenser will show you every bit of fizz the high cut has not removed yet.
- Distance. Close is tighter and more midrange-forward. Backing off adds room and low end via proximity change. Small moves here do a lot.
- Low cut. Around 80 to 100 Hz cleans up mud that no amount of Bass-knob reduction fixes, because the problem is below where the Bass knob operates.
If a preset sounds bad and you have not touched these four, you have not really tried yet.
Step 4: Gain Staging in the Amp Block
Helix amp blocks use a 0 to 10 scale for the tone and gain controls, the same as the real amps they are modeled on. This matters because advice written for other platforms sometimes uses a 0 to 1 or percentage scale, and importing those numbers directly will put you nowhere near the intended setting.
The relationship that matters is Drive against Master.
- Drive sets preamp distortion character. More Drive equals more harmonic content and more compression from the preamp stage.
- Master sets power amp behavior. On a modeled amp this is not a volume control in the way people expect. It sets how hard the virtual power section is being pushed, which controls sag, compression, and how the note responds to pick attack.
Turning both up is the most common gain-staging mistake on the platform. You get maximum compression from both stages at once, which is heard as a preset that sounds loud, flat, and unresponsive — everything at the same level, no dynamics, no touch sensitivity.
Pick one. A cranked-preamp, moderate-power-amp setting is a modern high-gain sound. A moderate-preamp, cranked-power-amp setting is a classic driven amp that cleans up when you roll the guitar volume back. They are different sounds and both are useful. Both cranked is neither.
The deeper amp parameters — Sag, Bias, Bias Excursion, Hum, Ripple — are worth knowing but are not where beginners should start. Sag is the useful one: more sag equals more compression and a softer attack, less sag equals a tighter and more immediate response. If a preset feels slightly rubbery, reduce Sag before you touch anything else.
For which model to start from, the Helix amp model cheat sheet maps the model names to their real-world sources, and the cab models decoded does the same on the speaker side.
Step 5: IRs, and When They Are Not the Answer
An impulse response is a captured snapshot of a specific speaker, microphone, and room. Since the 3.0 cab overhaul the stock cabs are good enough that IRs are no longer a default upgrade, which was not true in the early firmware years.
Use an IR when you want a specific documented speaker and mic pair, or when you are chasing a particular record. Do not use one to rescue a preset that sounds bad, because an IR replaces the cab block and nothing else — if the gain staging is wrong, an IR gives you a badly gain-staged preset through a different speaker.
We ran a Helix IR shootout and covered cab and IR pairings separately if you want to go further down that path.
Step 6: Snapshots, Stomps, and Presets
Three ways to change something with your foot, and picking the wrong one is a workflow problem that masquerades as a tone problem.
- Stomp turns one block on or off. Use it for changes you make by feel, in the moment.
- Snapshot recalls a saved state across the whole preset at once — bypass states, parameter values, levels — with no audio gap. Use it for song sections you already know are coming.
- Preset change swaps the entire patch. Use it between songs.
HX Stomp gives you 3 snapshots per preset. Helix Floor, LT, and Rack give you 8. The practical implication is that on a Stomp you should think in terms of three states per song — usually clean, dirty, and lead — and build the song around that constraint rather than fighting it.
The block count matters here too. HX Stomp moved from 6 blocks to 8 with the 3.0 firmware. If you are hitting that ceiling, look for blocks doing jobs one block could do before you conclude you need a bigger unit.
Step 7: Build a Preset From Scratch
Ten minutes, in this order. The order is the point — each step is easier to judge once the previous one is right.
- Start empty. Do not modify a factory preset. You will inherit decisions you cannot see.
- Add the amp block only. No cab yet. It will sound terrible. That is expected and it is not information yet.
- Add the cab block. Now it sounds like a guitar.
- Set the high cut before anything else. Come down from 8 kHz until the fizz goes.
- Set Drive and Master using the one-or-the-other rule above. Play while you do this, do not tweak in silence.
- Set the amp EQ. Only now. Most of what people fix with EQ was a cab problem, and if you EQ first you will build a curve that compensates for a cab you are about to change.
- Add a low cut on the cab block if the low end is loose.
- Add drive, modulation, delay, reverb — in that order, one at a time, playing between each.
- Set the preset output level to match your other presets. Do this last and do it against a reference preset, not from memory.
- Save, then leave it alone for a day. Judge it once on fresh ears before you keep editing.
Step 10 is not filler. Ear fatigue after twenty minutes of tweaking is real and it consistently pushes presets brighter than they should be.
Troubleshooting: Symptom to Cause
| Symptom | Most likely cause | Fix |
|---|---|---|
| Fizzy, static-like pick attack | No cab high cut | High cut to 6-8 kHz |
| Thin, no body | Cab low cut too high, or no cab at all | Low cut to 80-100 Hz or lower; confirm a cab block exists |
| Muddy, undefined | Low end below the Bass knob's reach | Cab low cut, not amp Bass |
| Loud but lifeless, no dynamics | Drive and Master both cranked | Back one of them off |
| Quiet and weak into a PA | Output set to instrument level | Switch to line level |
| Harsh and clipping into an interface | Output set to line into an instrument input | Match the levels |
| Great at home, wrong at the gig | Global EQ left on from a different room | Turn it off and re-check |
| Fuzz will not clean up on the volume knob | Input impedance | Set it manually rather than Auto |
| Sounds good solo, disappears in the band | Scooped mids | Put the mids back; the guitar lives there |
The last row is not Helix-specific but it accounts for a lot of the "sounds worse than my amp" reports. A mid-scooped preset is impressive alone and invisible in a mix.
Where This Sits Against Other Platforms
The architecture here is not unique to Line 6. On a Quad Cortex or a Kemper the same five decisions exist under different names, and the same ordering applies — output matching first, speaker stage second, gain staging third, EQ last. What differs is the routing model and how deep the amp parameters go, which we covered in Helix vs. Quad Cortex vs. Kemper and across the Helix family compared if you are still deciding which unit to own.
A Boss Katana solves the same problems by giving you fewer of them, which is a legitimate trade and not a lesser one.
What To Do Next
If you take one thing from this: stop shopping for amp models. The amp model is the smallest of the five decisions above, and every hour spent auditioning models on a preset with no high cut and a wrong output level is an hour spent comparing two broken things.
Fix the global settings. Set the high cut. Pick one of Drive or Master to push. Then audition amp models, and you will find that several of them are fine, which is the actual answer.
From here, the specific-application guides go deeper: best Helix amp models for blues, ten underrated Helix amp models, worship tone on Helix, and shimmer reverb settings for the ambient end.